
Blog
Xendoll has 22 years of experience in the production of small machine tools. We will help you choose the suitable machine and share our experience in CNC machining with you.

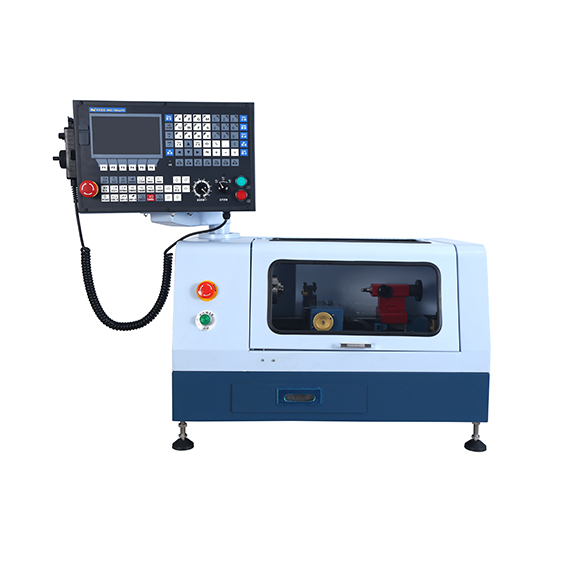
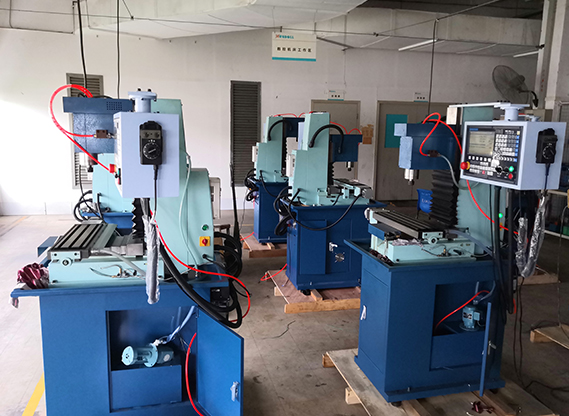
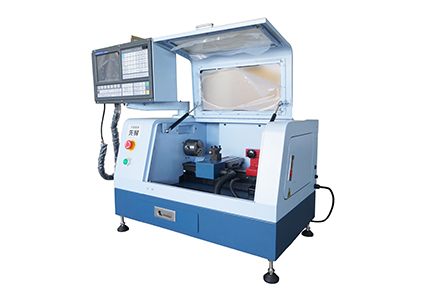
▸High performance 2 axis Lathe CNC controller.| ▸8 inches color screen, interface can be made of parameter selection in both Chinese and English.| ▸The standard spec includes MPG hand wheel.| ▸Selection of high -quality casting materials, more compact, High strength guide way.| ▸Automatic 4 positions tool post.| ▸Controller auto stop work when door open.| ▸High quality 2 axis AC Servor Motor.| ▸USB and RS232 port, DNC function of USB.| ▸Control speed of G code.| ▸Best choice for DIY or Hobby user and Education & Training CNC.|
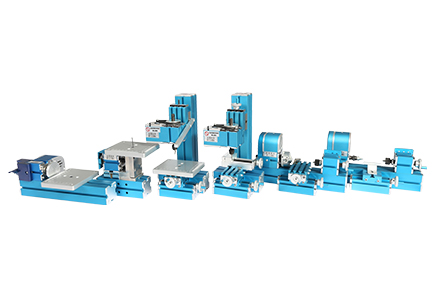
Metal Jigsaw | Metal woodturning Machine| Metal lathe Machine | Metal Milling Machine| Metal Drilling Machine| Metal Sanding Machine| Metal On-hand machine| Metal Drilling machine with dividing attachment


Xendoll has 22 years of experience in the production of small machine tools. We will help you choose the suitable machine and share our experience in CNC machining with you.
 Jul 30, 2025

 1694
1694
The rhythmic creak of wood, the satisfying curl of shavings, the connection to centuries of craftsmanship – working on a pole lathe is a uniquely rewarding experience. This ancient tool, powered by a flexible sapling or pole and your own foot, offers a simple, sustainable, and deeply satisfying way to shape wood. Building your own pole lathe isn't just a project; it's a journey into the roots of woodturning, accessible to hobbyists, educators, and anyone fascinated by traditional tools. Let's build one!

Understanding the Pole Lathe Principle
Unlike modern electric lathes, the pole lathe operates on a reciprocating motion principle.Your foot presses down on a treadle, rotating the workpiece towards you via a cord attached to an overhead pole. When you release the treadle, the pole springs back, rotating the workpiece away from you. You cut only on the downstroke (towards you), learning a distinctive rhythm fundamental to this craft.
Gathering Your Materials & Tools
Frame Lumber: Sturdy hardwood (like Oak, Ash, Maple) or durable softwood (like Douglas Fir). Dimensions depend on your size, but roughly:
Legs: 2" x 2" x 36" (2 pieces)
Bed Rails: 2" x 4" x 48" (2 pieces)
Headstock & Tailstock Supports: 2" x 4" x 12" (2 pieces)
Treadle: 1" x 6" x 24" (or a sturdy branch)
Pole: A long (8-12ft), flexible sapling (Hazel, Ash, Hickory) or a sturdy wooden pole/fiberglass rod.
Hardware: Long coach bolts (approx. 6" x 1/2"), washers, nuts; wood screws (3-4"); strong cord (natural fiber like hemp or modern synthetic); leather strips or thick fabric for hinge.
Critical Components:
Drive Centre: A hardened steel point that bites into the workpiece end at the headstock. (Can be purchased or forged).
Pointer Centre (Tailstock Centre): A hardened steel point with a 60-degree cone for the tailstock end.
Poppets (Headstock & Tailstock): Upright blocks holding the centres. Must be height-adjustable and lockable.
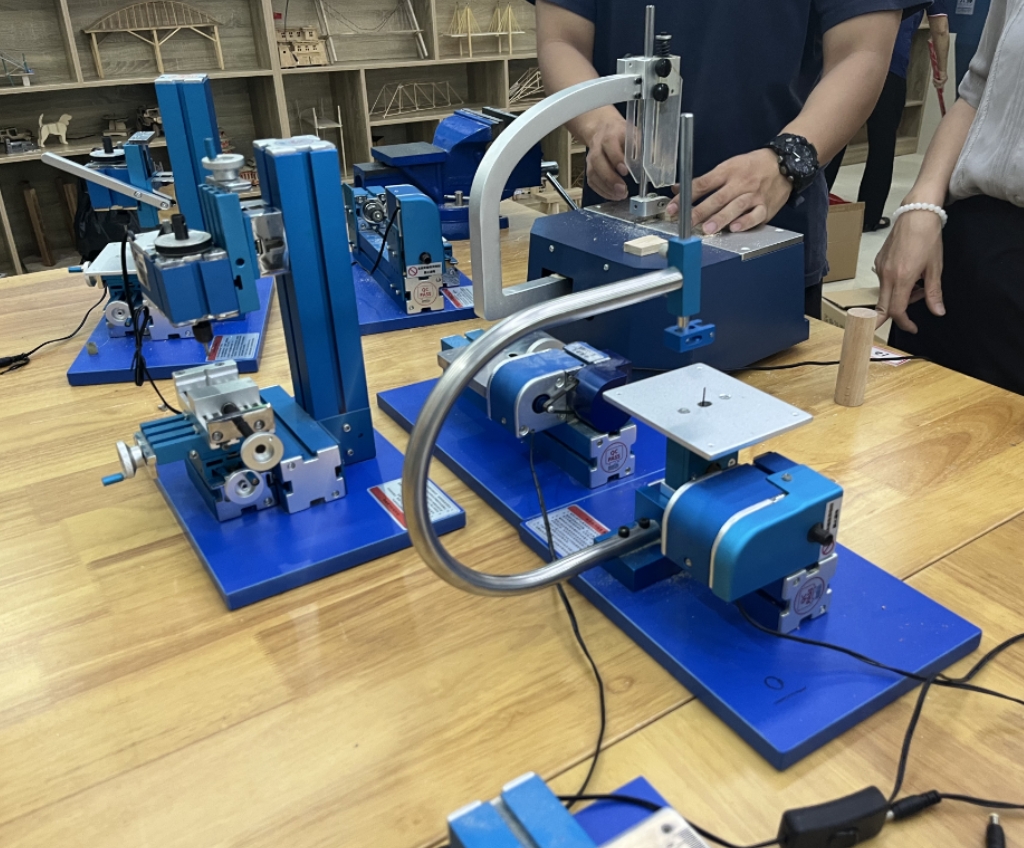
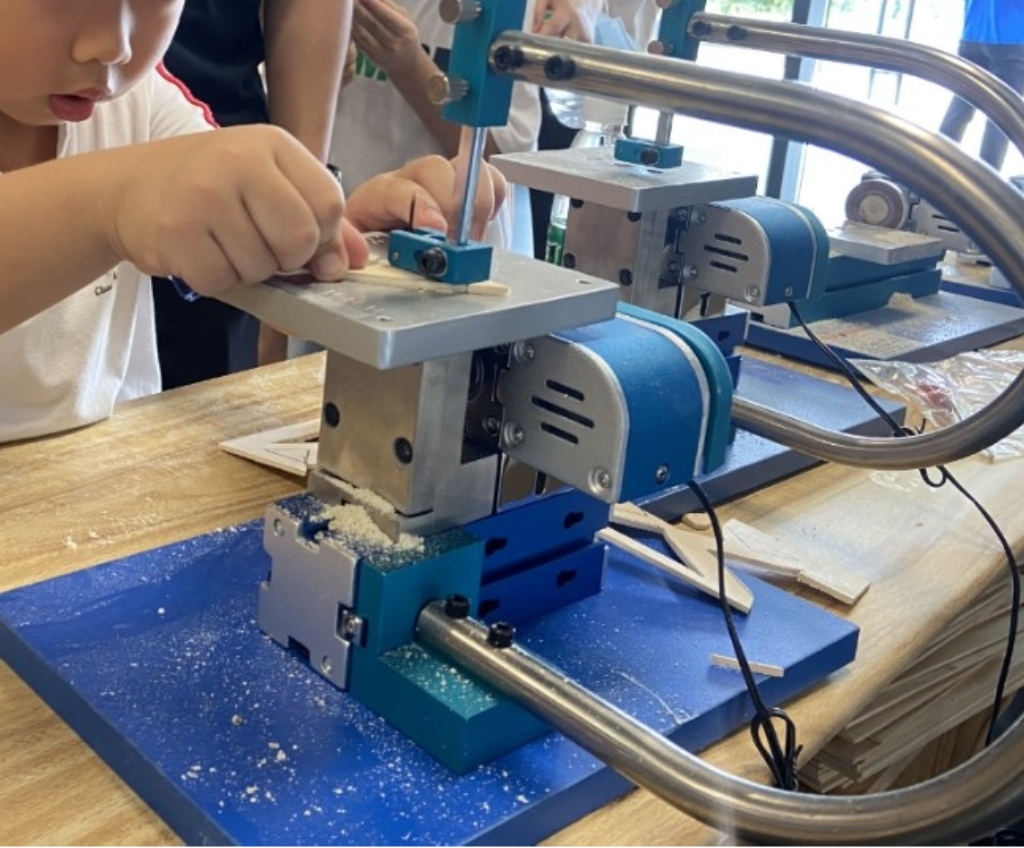
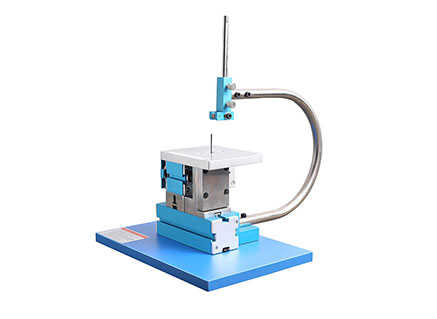
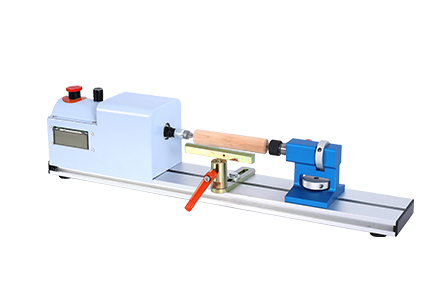
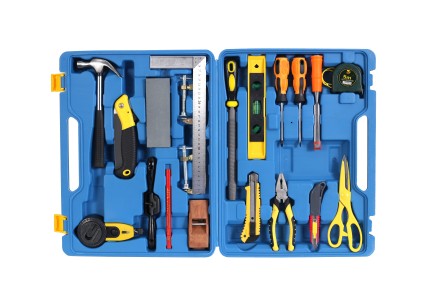
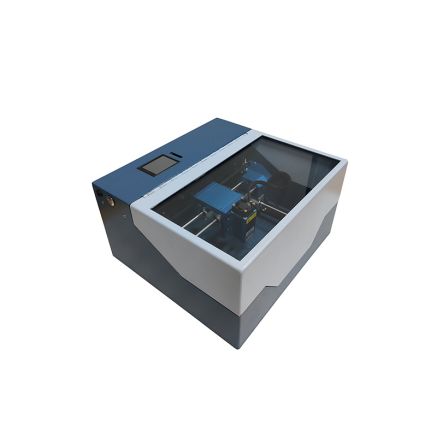
Tools: Saw (hand saw or powered saw like a Xendoll Mini Bandsaw), Drill & Bits (sized for bolts), Wrenches, Screwdriver, Chisel, Mallet, Measuring Tape, Pencil, Sandpaper. (Precision cutting for poppets or frame joints is easier with mini power tools like those from Xendoll Tools).
Step-by-Step Construction Guide
Build the Frame ("Bed"):
Assemble the two long bed rails parallel to each other, spaced roughly 12-18" apart.
Attach the legs securely to the underside of the bed rails at each end using coach bolts (allowing potential for later disassembly) or sturdy screws.
Fix the headstock and tailstock support blocks vertically onto the bed rails at each end. Ensure they are perfectly upright and aligned with each other.
Fabricate the Poppets (Headstock & Tailstock):
Cut two sturdy blocks (approx. 4" x 4" x 6").
Drill a vertical hole slightly larger than your centres' shafts through the centre of each block.
Cut a slot from the top down to this hole on the front face of each block, wide enough for the centre shaft.
Drill a horizontal hole perpendicular to the slot near the top for a locking wedge or bolt.
Mount the poppets onto their respective support blocks, ensuring they can slide along the bed rails for adjustment and be securely clamped in place.
Install the Centres:
Insert the drive centre into the headstock poppet. The tang should fit securely in the vertical hole, with the point protruding.
Insert the pointeR centre into the tailstock poppet similarly. Ensure both points are aligned horizontally and at the same height.
Construct the Treadle & Cord Mechanism:
Attach the treadle board to the front legs using a simple hinge (leather strips work well) or bolts, allowing it to pivot freely up and down.
Securely anchor the top end of your flexible pole (the "spring pole") directly above the headstock. This could be to a ceiling rafter, a sturdy tripod, or a frame extension.
Tie one end of your cord securely to the very end of the pole.
Wrap the cord once around your workpiece (mounted between centres).
Tie the other end of the cord securely to the end of the treadle (furthest from the hinge).
Final Checks & Setup:
Secure your workpiece (ideally green wood for beginners) between the centres. Adjust the tailstock poppet to apply firm, secure pressure – avoiding crushing the wood.
Ensure the cord is taut but not overly tight when the treadle is at rest. Adjust cord length or pole tension as needed.
Test the motion: Pressing the treadle should rotate the workpiece towards you; releasing it should allow the pole to spring back, rotating the workpiece away.
Mastering the Rhythm & Safety First
Safety Glasses are Mandatory! Wood chips fly unpredictably.
Secure Workholding: Double-check workpiece is firmly held before starting.
Tool Control: Keep turning tools (gouges, scrapers) sharp and learn proper hand positioning (tool rest is essential!). Cut only on the downstroke (towards you).
The Rhythm: Develop a steady, rhythmic push-release motion with your foot. Let the pole do the return work. Your hands guide the tool only during the cutting stroke.

Why Build a Pole Lathe?
Building and using a pole lathe connects you directly to a millennia-old craft. It's inexpensive, sustainable (using human power and often found materials), quiet, and immensely satisfying. The focus required by the reciprocating action hones your tool control and understanding of wood grain in ways modern lathes often bypass. It's perfect for turning green wood into beautiful bowls, chair legs, tool handles, and more. For educators, it's a fantastic hands-on history and STEM project. For hobbyists, it's pure, unplugged workshop joy.
Ready to Turn Tradition?
Your journey into the captivating world of spring pole turning begins with these simple steps. Embrace the simplicity, master the rhythm, and discover the profound satisfaction of shaping wood with this ancient, elegant tool. While building this traditional machine, remember that modern precision mini tools like those from Xendoll Tools can streamline the preparation of your components, letting you focus on the joy of turning itself. What will you create first on your very own pole lathe?


 Show all our samples
Provide you with a free quote
Answer all the questions you may have
Guided installation and other options
Show all our samples
Provide you with a free quote
Answer all the questions you may have
Guided installation and other options