
Blog
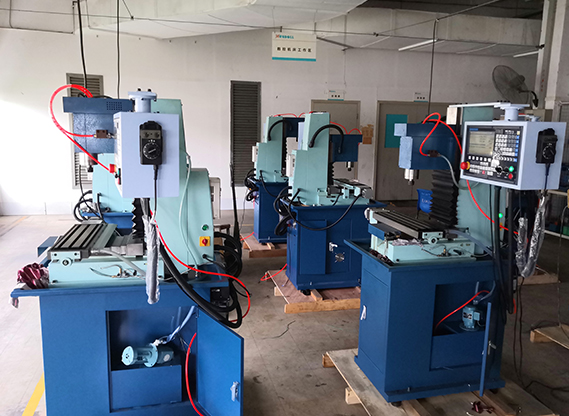
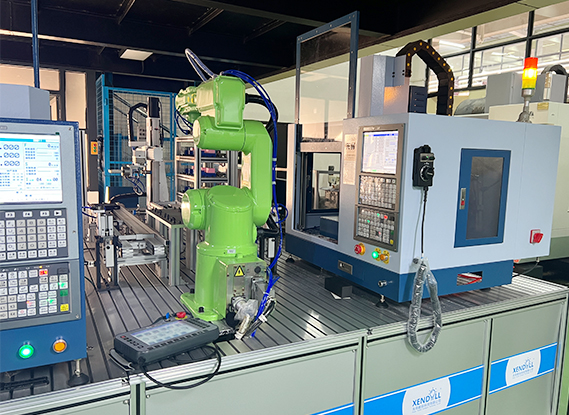
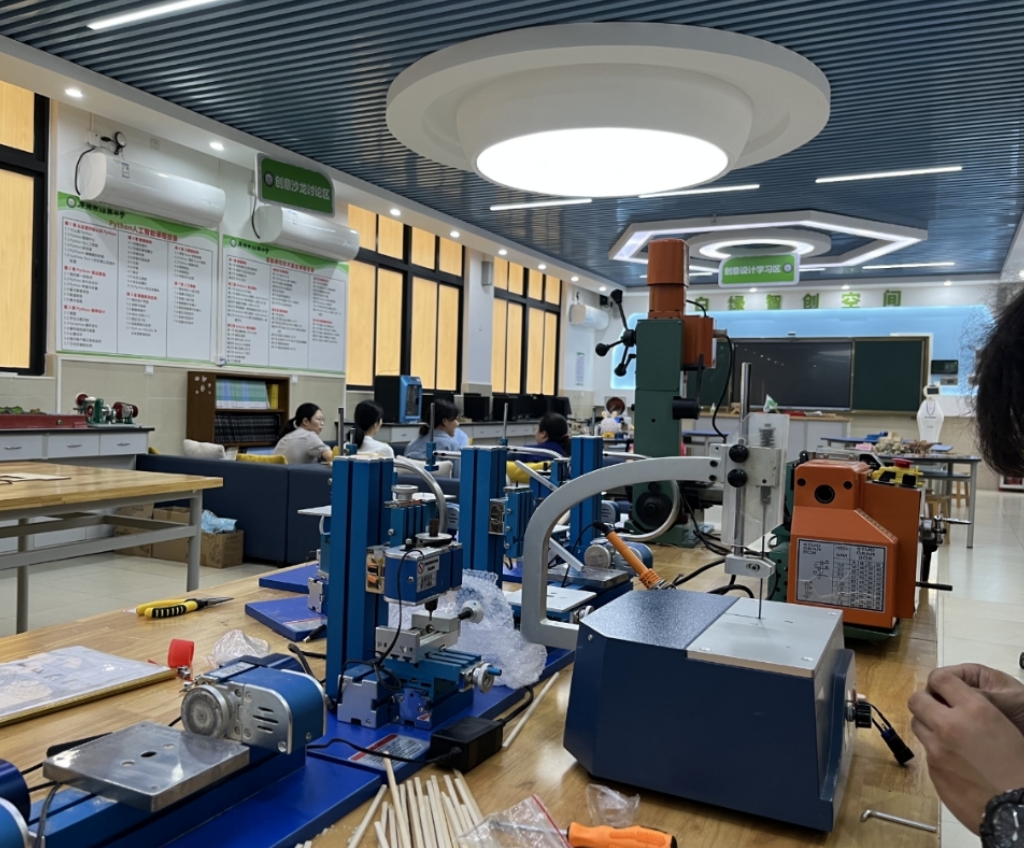
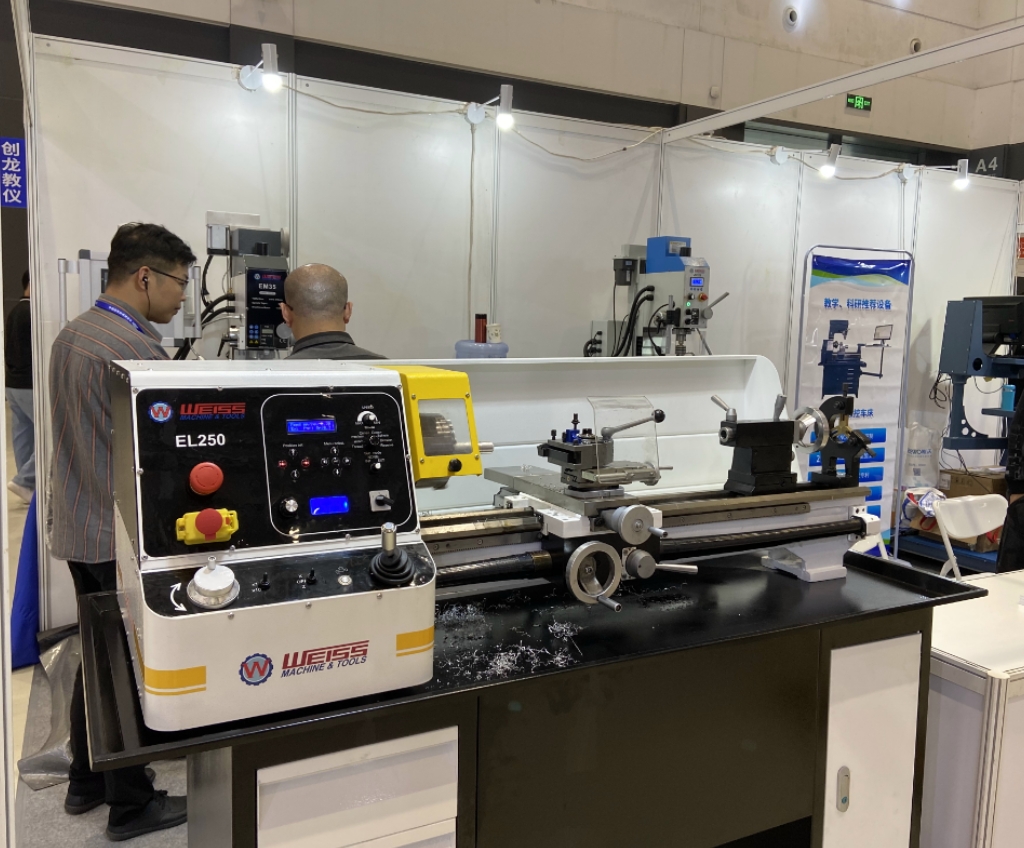
Xendoll has 22 years of experience in the production of small machine tools. We will help you choose the suitable machine and share our experience in CNC machining with you.

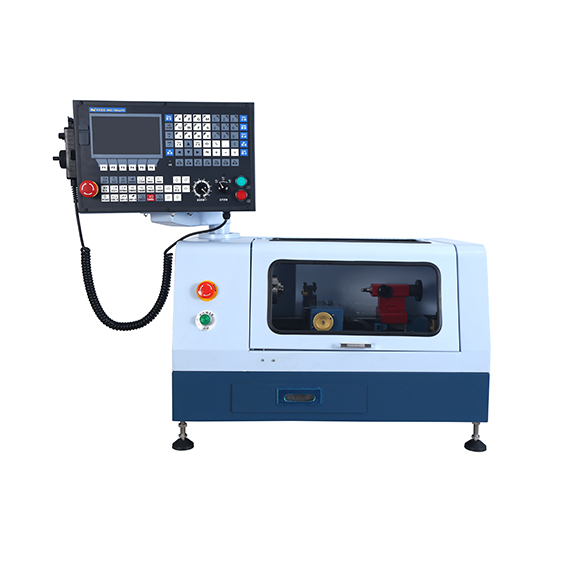
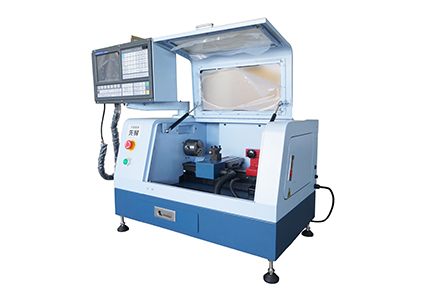
▸High performance 2 axis Lathe CNC controller.| ▸8 inches color screen, interface can be made of parameter selection in both Chinese and English.| ▸The standard spec includes MPG hand wheel.| ▸Selection of high -quality casting materials, more compact, High strength guide way.| ▸Automatic 4 positions tool post.| ▸Controller auto stop work when door open.| ▸High quality 2 axis AC Servor Motor.| ▸USB and RS232 port, DNC function of USB.| ▸Control speed of G code.| ▸Best choice for DIY or Hobby user and Education & Training CNC.|
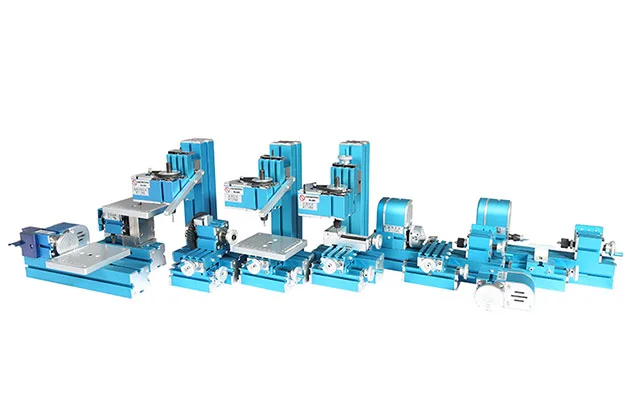
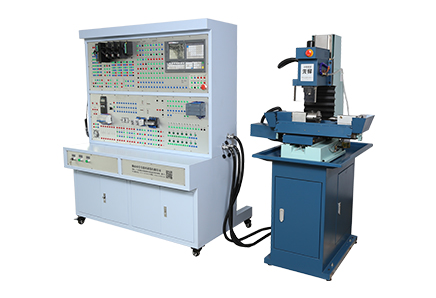
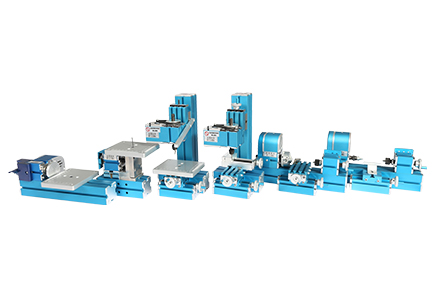
Metal Jigsaw | Metal woodturning Machine| Metal lathe Machine | Metal Milling Machine| Metal Drilling Machine| Metal Sanding Machine| Metal On-hand machine| Metal Drilling machine with dividing attachment


Xendoll has 22 years of experience in the production of small machine tools. We will help you choose the suitable machine and share our experience in CNC machining with you.
 Jul 25, 2025

 1899
1899
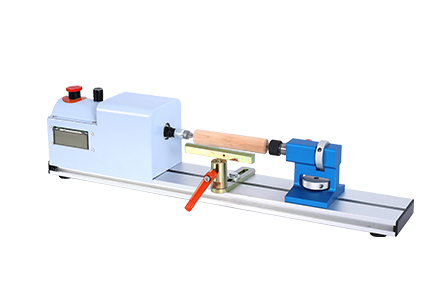
The tailstock on your manual lathe might seem like a simple component, but its setup is absolutely critical for achieving accurate, repeatable results. Whether you're supporting long workpieces, drilling precise holes on-center, or turning tapers, a misaligned tailstock is a recipe for frustration, scrap metal, and compromised projects. For professionals, educators, and hobbyists relying on quality mini-lathes like those from Xendoll, understanding proper tailstock setup is fundamental. This guide walks you through the essential steps to ensure your tailstock is perfectly aligned and ready for any task.

Step-by-Step Tailstock Setup: Achieving Perfect Alignment
Preparation is Paramount:
Cleanliness First: Start with a meticulously clean lathe bed. Wipe down the ways (V- and flat surfaces) where the tailstock slides and seats using a lint-free rag and a suitable solvent (like mineral spirits). Remove all chips, dirt, and old oil/grease. Any debris acts like tiny shims, throwing off alignment.
Tailstock Base: Thoroughly clean the mating surfaces on the underside of the tailstock base. Pay special attention to the grooves and recesses.
Lubricate (Lightly): Apply a thin film of way oil to the clean lathe bed ways. This ensures smooth movement and prevents wear.
Positioning the Tailstock:
Slide the tailstock roughly into position along the bed, close to where you'll be working (often near the center of the bed for general alignment checks). Ensure it sits squarely on the ways.
Initial Clamping (Lightly):
Engage the tailstock clamp lever or nut just enough to hold the tailstock in position without fully locking it down. It should still be possible to adjust it slightly with firm pressure.
Aligning the Tailstock (The Core Process - Test Bar Method):
Mount a Precision Test Bar: Chuck a known-good, precision ground test bar (or a very accurately turned piece of stock) securely in the headstock chuck or collet. Ensure it runs true with minimal runout.
Bring Tailstock Quill to Bear: Extend the tailstock quill fully (usually). Lock the quill in place. Bring the tailstock forward so the center point (a clean, sharp dead center or a live center) engages firmly with a center drilled in the end of the test bar. Apply moderate pressure.
Lock the Tailstock Base: With the centers engaged under pressure, fully tighten the tailstock clamp lever/nut. This locks it in position relative to the headstock axis at this specific point on the bed.
Checking Alignment (Dial Indicator Method - Most Accurate):
Same Reading (e.g., Zero both ends): Perfect alignment! The tailstock center is exactly on the lathe's spindle axis.
Different Reading: Indicates misalignment. The difference between the two readings is twice the actual offset error at the tailstock (due to levering effect over the bar's length).
Mount a Dial Indicator: Attach a dial indicator securely to the lathe's carriage or tool post. Position the indicator plunger to contact the side of the test bar, near the tailstock end.
Zero at Tailstock End: Gently rotate the test bar by hand and adjust the indicator so it reads zero (or note the reading) when contacting the high point near the tailstock.
Check at Headstock End: Carefully move the carriage (without disturbing the indicator setup) so the plunger contacts the test bar near the headstock. Gently rotate the bar again.
Interpret the Reading:
Correcting Misalignment (Offset Adjustment):
If the headstock end reading is higher (e.g., +0.002" vs 0), the tailstock is offset towards you (on the operator side). Turn the front adjustment screw in (clockwise) or the rear screw out (counter-clockwise) slightly.
If the headstock end reading is lower (e.g., -0.002" vs 0), the tailstock is offset away from you. Turn the front screw out or the rear screw in slightly.
Locate Adjustment Screws: Most tailstocks have two opposing adjustment screws (horizontal and sometimes vertical) on the base, near the clamping area. Loosen the clamp lever slightly (just enough to allow adjustment, but not so loose the tailstock shifts uncontrollably).
Adjust Precisely: Based on your dial indicator reading:
Re-Check & Iterate: Re-tighten the clamp, re-engage centers, and repeat the dial indicator check at both ends. Make tiny adjustments and repeat the process until readings at both ends of the test bar are identical. Patience is key!
Setting Tailstock Offset for Taper Turning:
Purpose: Deliberately offsetting the tailstock is used to turn precise external tapers.
Method: Follow steps 1-4. Instead of aligning for zero offset, use the tailstock adjustment screws to move the tailstock body laterally by the calculated amount (usually specified in the lathe manual or machining handbook for the desired taper). Measurement is typically done using the graduations on the tailstock base or with a dial indicator mounted on the bed measuring tailstock base movement.
Crucial Note: Always indicate exactly how much offset has been applied and in which direction. Return to zero offset for non-taper work!

Conclusion: Precision Starts with Perfect Setup
Properly setting up your manual lathe's tailstock is not just a preliminary step; it's the bedrock of precision turning. A correctly aligned tailstock ensures workpieces run true, holes are drilled on-axis, and tapers are machined accurately. For owners of Xendoll mini-lathes, renowned for their quality and suitability for workshops, educational settings, and hobbyist projects, mastering this procedure unlocks the full potential of your machine. Remember the core principles: meticulous cleanliness, systematic checking with reliable tools (like dial indicators), and patient, incremental adjustment. By investing time in perfecting your tailstock setup, you invest in the accuracy, quality, and satisfaction of every project you undertake.
Ready to achieve workshop precision? Explore the durable and precise mini-lathes and accessories designed for professionals and enthusiasts at Xendoll Tools: https://xendolltools.com


 Show all our samples
Provide you with a free quote
Answer all the questions you may have
Guided installation and other options
Show all our samples
Provide you with a free quote
Answer all the questions you may have
Guided installation and other options