
Blog
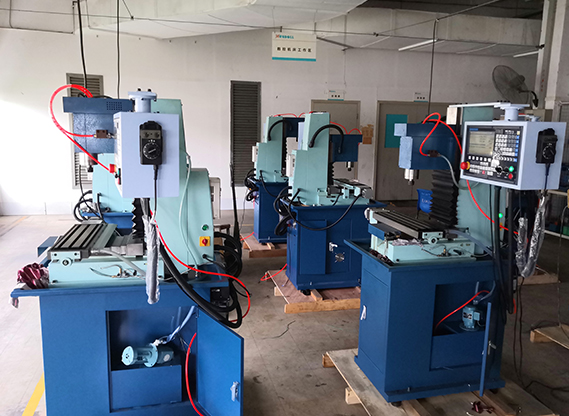
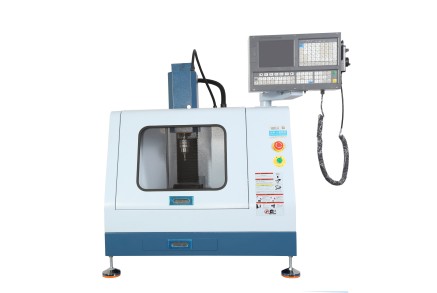
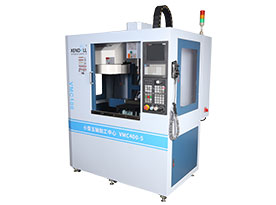
Xendoll has 22 years of experience in the production of small machine tools. We will help you choose the suitable machine and share our experience in CNC machining with you.

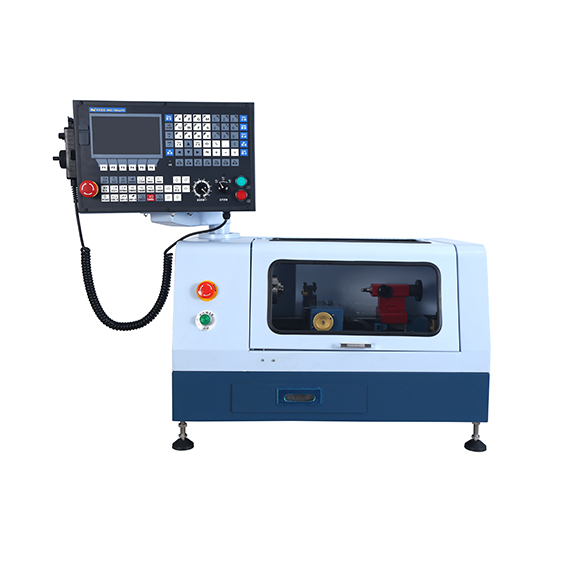
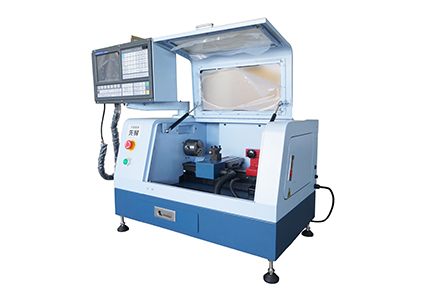
▸High performance 2 axis Lathe CNC controller.| ▸8 inches color screen, interface can be made of parameter selection in both Chinese and English.| ▸The standard spec includes MPG hand wheel.| ▸Selection of high -quality casting materials, more compact, High strength guide way.| ▸Automatic 4 positions tool post.| ▸Controller auto stop work when door open.| ▸High quality 2 axis AC Servor Motor.| ▸USB and RS232 port, DNC function of USB.| ▸Control speed of G code.| ▸Best choice for DIY or Hobby user and Education & Training CNC.|
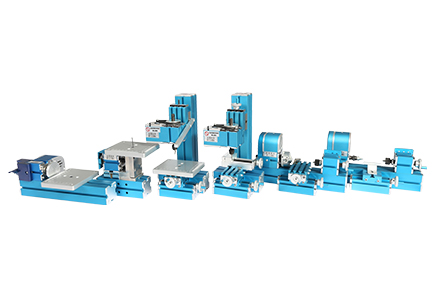
Metal Jigsaw | Metal woodturning Machine| Metal lathe Machine | Metal Milling Machine| Metal Drilling Machine| Metal Sanding Machine| Metal On-hand machine| Metal Drilling machine with dividing attachment


Xendoll has 22 years of experience in the production of small machine tools. We will help you choose the suitable machine and share our experience in CNC machining with you.
 Jul 23, 2025

 1807
1807
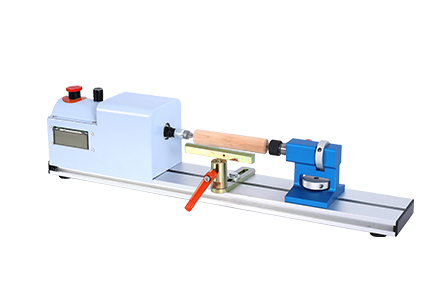
Achieving pinpoint precision is the holy grail of turning operations. So, discovering a consistent taper on your workpiece – where the diameter changes undesirably along its length – is incredibly frustrating. This common lathe issue undermines accuracy, wastes material, and costs time. Understanding the root causes of lathe machine taper is the first critical step towards eliminating it and ensuring your projects meet exact specifications. Let's dissect the primary culprits and their solutions.

I. The Core Culprits of Lathe Taper (and Their Fixes)
Several factors can conspire to create taper. Often, it's a combination of minor issues amplifying each other. Here are the most frequent offenders and how to address them:
Misalignment: The Prime Suspect
Headstock-Tailstock Misalignment: This is arguably the most common cause. If the centers of the headstock spindle and the tailstock quill are not perfectly in line horizontally, the workpiece is effectively being turned between two slightly offset points. As the cutting tool moves parallel to the ways, it cuts a slightly larger diameter at one end than the other.
Solution: Realign the tailstock using the "two-collar test." Turn equal-diameter collars on a test bar near the headstock and tailstock without moving the tool cross-slide. Measure both diameters precisely. A difference indicates misalignment. Use the adjustment screws at the tailstock base (consult your manual) and precise measurement (dial indicators). Perform regular checks.
Worn or Improperly Adjusted Components:
Worn Headstock Bearings: Excessive play in the spindle bearings allows the workpiece to deflect or "wobble" under cutting pressure, leading to inconsistent cuts and taper, often with chatter.
Solution: Check for play by grasping the chuck firmly and trying to move it up/down or in/out. Listen for rumbling noises. Bearing replacement is usually a professional repair. Prevention: Strict adherence to proper lubrication schedules is crucial.
Loose Gibs (Carriage/Cross-Slide): Loose gibs (adjustable strips controlling slack) allow the tool post assembly to shift or "yaw" under cutting forces, especially on longer cuts, causing taper.
Solution: Check for play by trying to rock the carriage or cross-slide when locked. Adjust the gib screws according to your lathe’s manual for smooth movement without binding or excessive play.
Tooling Issues: Pressure and Position:
Tool Height Misalignment: If the cutting tip is not set exactly at spindle center height, it creates an incorrect rake angle, forcing the tool to dig in or push away the workpiece, causing dimensional errors and taper.
Solution: Visually check tool height against a center or use a height gauge. Carefully adjust the tool holder using shims or the compound slide height adjustment. Verify frequently.
Tool Wear or Dullness: A dull tool requires significantly more cutting force, causing greater deflection in the workpiece, tool holder, and lathe components, leading to taper and poor finish.
Solution: Regularly inspect the cutting edge for rounding, chipping, or built-up edge. Listen for increased noise and observe surface finish. Sharpen or replace the cutting tool promptly. Use correct tool geometry and speeds.
Workpiece Deflection: The Bending Factor
Always use a tailstock center (live center preferred) for maximum support.
Reduce depth of cut and feed rate.
Use sharp tools to minimize cutting force.
Employ steady rests or follower rests for very long workpieces.
Cause: Long, slender workpieces, or those held only in the chuck, bend away from the tool under cutting pressure. Deflection is greatest at the unsupported end, resulting in a larger diameter there (taper). The problem worsens significantly with increased length-to-diameter ratio.
Solution:
Use a tailstock center (live center preferred) for maximum support.
Reduce depth of cut and feed rate.
Use sharp tools to minimize cutting force.
Consider steady rests or follower rests for very long workpieces
Thermal Effects:
Ensure headstock bearings are properly lubricated and adjusted.
Allow the lathe to warm up under light cuts before demanding high precision.
Schedule breaks during long operations for heat dissipation.
Be aware taper measured on a warm lathe may differ from when cold.
Cause: Friction from cutting and headstock bearings/drive generates heat, causing thermal expansion of the lathe bed. If the headstock end heats up more, the bed expands slightly, increasing the distance between centers. This can induce taper, usually making the tailstock end larger. More noticeable on long workpieces or during prolonged heavy cutting.
Solution:
Ensure headstock bearings are properly lubricated and adjusted to minimize friction heat.
Allow the lathe to warm up under light cuts before demanding high precision.
Take breaks during long operations to allow heat to dissipate more evenly.
Be aware that taper measured on a warm lathe might differ from when it's cold.
III. Achieving Precision: Proactive Prevention
Conquering taper requires diligence and a systematic preventative approach:
Routine Alignment Checks: Integrate the two-collar test into your regular maintenance schedule, especially after moving the tailstock, heavy impacts, or when precision is paramount.
Maintain meticulous setup discipline: religiously verify cutting tool height is exactly at spindle center; ensure all workholding (chucks, centers, collets) is securely clamped, clean, and running true; and utilize tailstock support whenever possible.
Tooling Vigilance: Maintain razor-sharp cutting edges. Strictly follow manufacturer recommendations for cutting speeds, feeds, and depths of cut to minimize deflection and heat generation.
Regular Gib Maintenance: Periodically inspect and adjust carriage and cross-slide gibs to ensure smooth, slop-free movement without binding.
Thermal Management: Incorporate warm-up routines, maintain optimal lubrication, and plan cooling breaks for extended machining sessions.
Respect Workpiece Physics: Acknowledge that long, thin parts will deflect; mitigate this by using appropriate support (centers, steady rests) and employing lighter, multiple passes instead of heavy single cuts.

Conclusion: Eliminating Taper Through Knowledge and Care
Lathe taper isn't an unsolvable mystery; it's a mechanical issue with identifiable causes. By understanding the primary culprits – misalignment (especially tailstock), component wear/looseness, tooling errors, workpiece deflection, and thermal expansion – you gain the power to diagnose and eliminate it. Consistent preventative maintenance, rigorous setup checks, and sharp tooling are your fundamental weapons against this precision thief. Remember, achieving perfect cylindrical results on your mini lathe, like those from Xendoll Tools, hinges not just on operator skill, but crucially on ensuring the machine itself is in true alignment and optimal mechanical condition. If persistent taper occurs after systematically checking these points, consult your machine's manual or seek professional calibration services. Master these fundamentals for consistent, high-quality turning!
For details, please refer to the following link:https://www.xendolltools.com/category/micro-cnc-machine.html


 Show all our samples
Provide you with a free quote
Answer all the questions you may have
Guided installation and other options
Show all our samples
Provide you with a free quote
Answer all the questions you may have
Guided installation and other options