
Blog
Xendoll has 22 years of experience in the production of small machine tools. We will help you choose the suitable machine and share our experience in CNC machining with you.

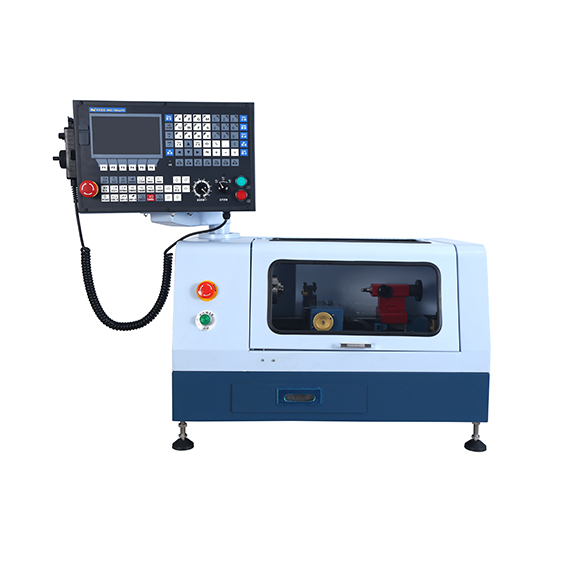
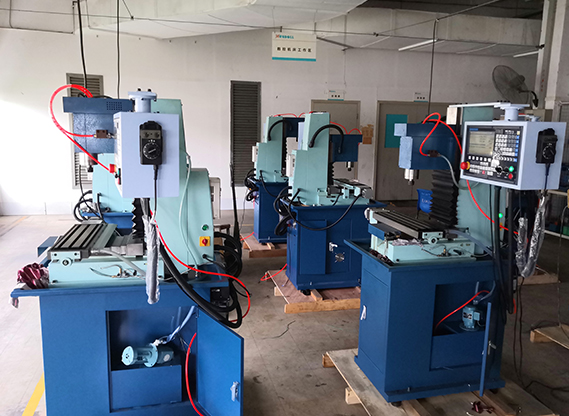
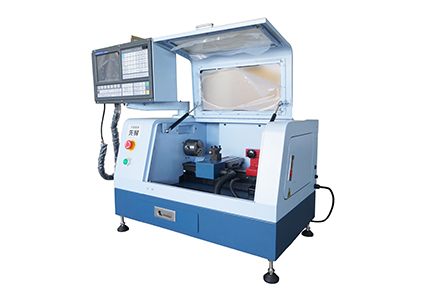
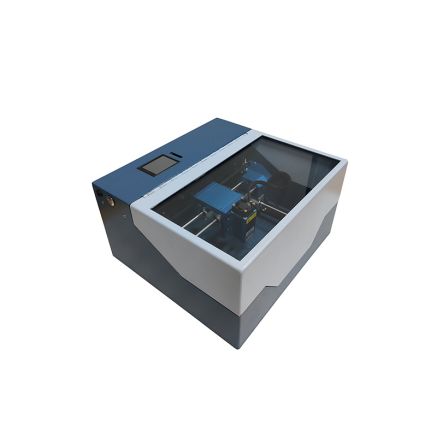
▸High performance 2 axis Lathe CNC controller.| ▸8 inches color screen, interface can be made of parameter selection in both Chinese and English.| ▸The standard spec includes MPG hand wheel.| ▸Selection of high -quality casting materials, more compact, High strength guide way.| ▸Automatic 4 positions tool post.| ▸Controller auto stop work when door open.| ▸High quality 2 axis AC Servor Motor.| ▸USB and RS232 port, DNC function of USB.| ▸Control speed of G code.| ▸Best choice for DIY or Hobby user and Education & Training CNC.|
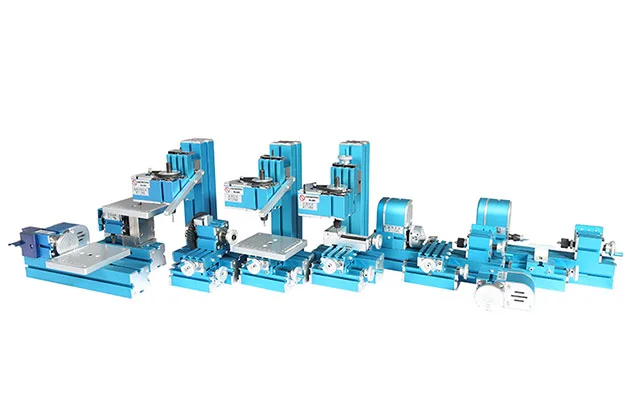
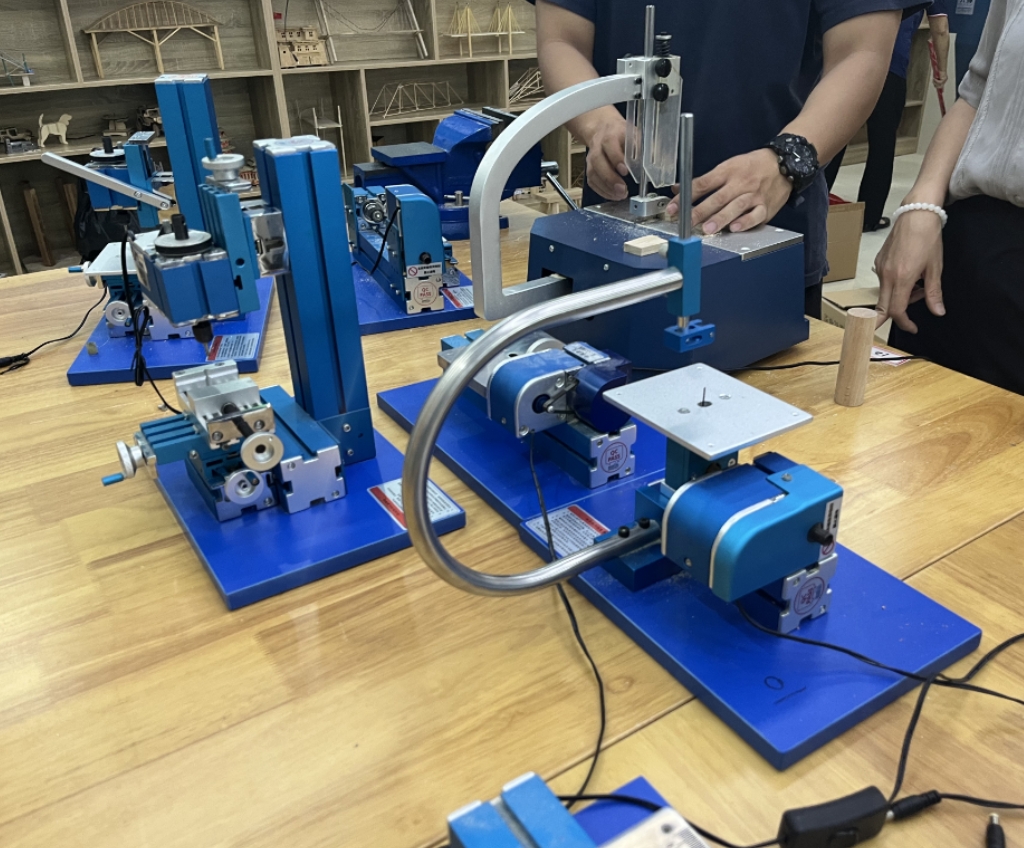
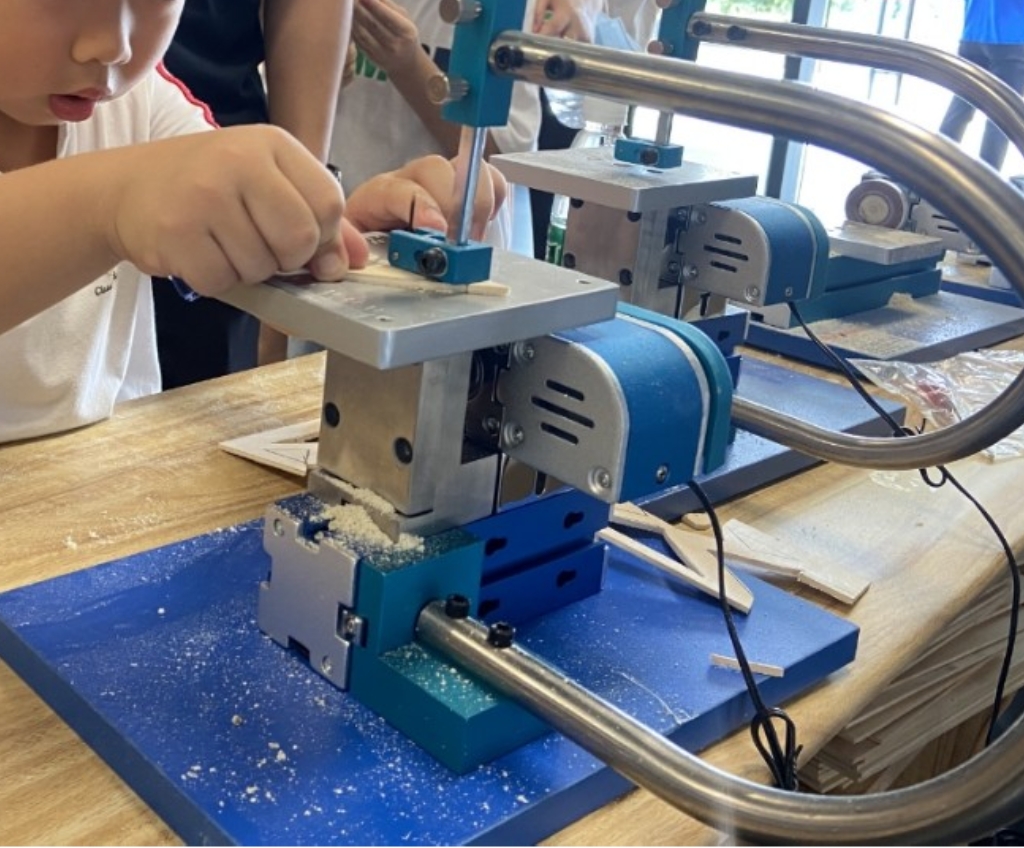
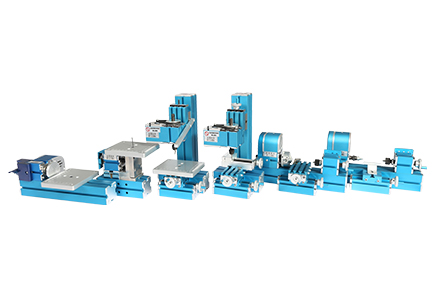
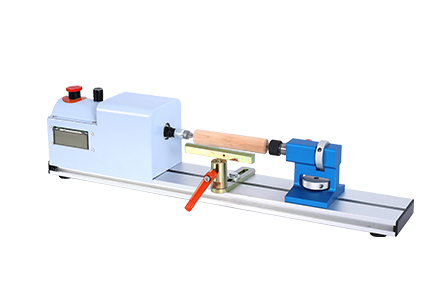
Metal Jigsaw | Metal woodturning Machine| Metal lathe Machine | Metal Milling Machine| Metal Drilling Machine| Metal Sanding Machine| Metal On-hand machine| Metal Drilling machine with dividing attachment


Xendoll has 22 years of experience in the production of small machine tools. We will help you choose the suitable machine and share our experience in CNC machining with you.
 Oct 16, 2025

 1969
1969
For anyone passionate about machining, from the seasoned professional to the enthusiastic hobbyist, the lathe is the heart of the workshop. But even the most powerful and precise mini lathe is only as good as the tools it uses. A sharp lathe tool is the single most critical factor for achieving a clean cut, a superior surface finish, and maintaining dimensional accuracy. Dull tools, on the other hand, lead to poor results, increased effort, and potential damage to your workpiece and machine. The good news is that learning how to sharpen your own lathe tools is a fundamental and highly rewarding skill. This comprehensive guide will walk you through the essential steps and techniques to transform a worn tool into a high-performing cutting instrument.

Before you touch your tool to the grinder, it's crucial to understand what you're trying to achieve. Sharpening a lathe tool, or "tool bit," involves grinding its faces to restore two key elements: the correct geometry (the angles of the cutting edges) and a keen cutting edge (the intersection of those faces). A properly ground tool will efficiently shear material, control chip flow, and provide a long service life.
Essential Safety First:
Always begin by putting on safety glasses. The grinding process creates hot, sharp metal particles. Ensure your grinder's tool rest is secure and adjusted close to the grinding wheel to prevent the tool from being caught and pulled in.
Follow these steps to confidently sharpen your High-Speed Steel (HSS) tool bits. With practice, this process will become second nature.
Step 1: Setting Up Your Grinding Station
A standard bench grinder is the most common tool for the job. For optimal results, use two wheels: one with an aluminum oxide abrasive for general grinding and a finer, white aluminum oxide wheel for finishing the edge. Ensure the wheels are dressed (cleaned and trued) using a diamond dresser to remove embedded metal and expose fresh, sharp abrasive grains. A wobbly or glazed wheel will make sharpening difficult and produce excessive heat.
Step 2: Understanding the Key Angles
A typical lathe tool has several critical angles. The two most important for beginners are the Side Relief Angle and the Back Relief Angle. These angles prevent the part of the tool behind the cutting edge from rubbing against the workpiece. The Side Cutting Edge Angle and the Nose Radius guide the chip and strengthen the tool's tip. Using a tool angle gauge or a pre-set jig can be immensely helpful in maintaining consistency, especially when you're starting out.
Step 3: The Sharpening Sequence
Hold the tool bit firmly and rest it on the tool support. The goal is to present the tool to the wheel at the correct angle with a steady, smooth motion.
Grind the Front Relief (End Relief): Start by establishing the front relief angle (typically 8-15 degrees). Gently press the end of the tool against the wheel, moving it side-to-side to create an even, flat surface. Avoid staying in one spot to prevent overheating, which can draw the temper from the steel and soften it.
Grind the Side Relief: Next, grind the side relief angle (also typically 8-15 degrees). This forms the primary side cutting edge.
Form the Side Rake and Back Rake: The top of the tool is ground to create rake angles, which control how the chip flows. A positive rake angle makes the tool sharper and cuts more freely but is slightly weaker. A negative rake is stronger and is often used for heavier cuts or harder materials.
Create the Nose Radius: Finally, gently rotate the tool on the corner of the grinding wheel to create a small, controlled radius on the tool's tip. A sharp corner is prone to chipping and can cause chatter, while a smooth radius helps produce a better surface finish.
Step 4: Cooling and Finishing
Frequently dip the tool into a container of water to keep it cool. The classic rule is, "If it's too hot to hold, it's too hot." After the basic geometry is established, use the finer grit wheel to hone the cutting edge. This removes the coarse burr left by the roughing wheel and produces a sharper, more durable edge.
The proof of a well-sharpened tool is in the cutting. Mount the tool in your Xendoll mini lathe's tool post, ensuring it is on center height. Take a light cut on a piece of scrap material. A properly sharpened tool will:
Produce thin, curling chips (not dust or thick, ragged chips).
Leave a smooth, shiny surface finish on the workpiece.
Cut with minimal noise and vibration.
If the tool scrapes, vibrates (chatters), or leaves a rough surface, re-examine your angles and re-sharpen.

Mastering the art of sharpening lathe tools is not just a maintenance task; it's an integral part of the machining craft. A sharp tool gives you control, precision, and the satisfaction of a job well done. It reduces the load on your mini lathe, extends the life of your tools, and elevates the quality of your projects. By understanding the geometry, following a systematic process, and prioritizing safety, you can ensure that your workshop is always equipped with the sharp, reliable tools needed to bring your creations to life.
Ready to take your machining to the next level? Explore Xendoll's range of precision mini lathes and compatible high-speed steel tool bits, designed to give enthusiasts and professionals the perfect foundation for their craft. Visit our Product Page to find the perfect tools for your workshop.


 Show all our samples
Provide you with a free quote
Answer all the questions you may have
Guided installation and other options
Show all our samples
Provide you with a free quote
Answer all the questions you may have
Guided installation and other options