
Blog
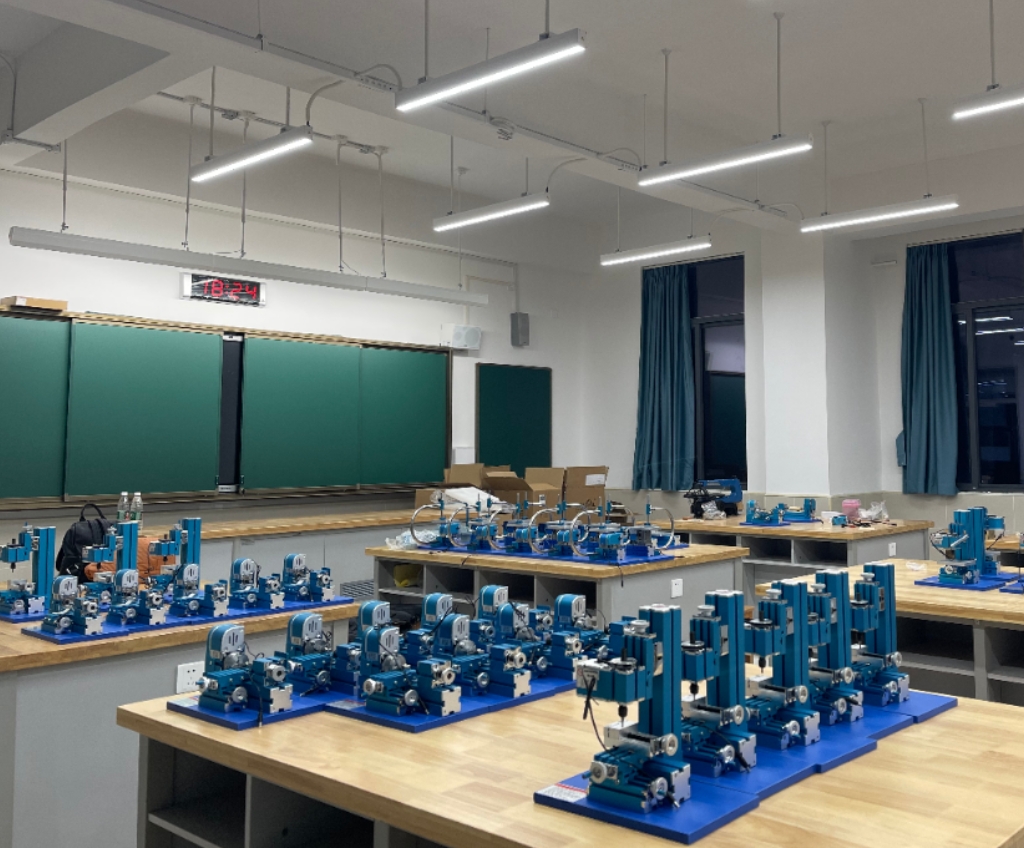
Xendoll has 22 years of experience in the production of small machine tools. We will help you choose the suitable machine and share our experience in CNC machining with you.

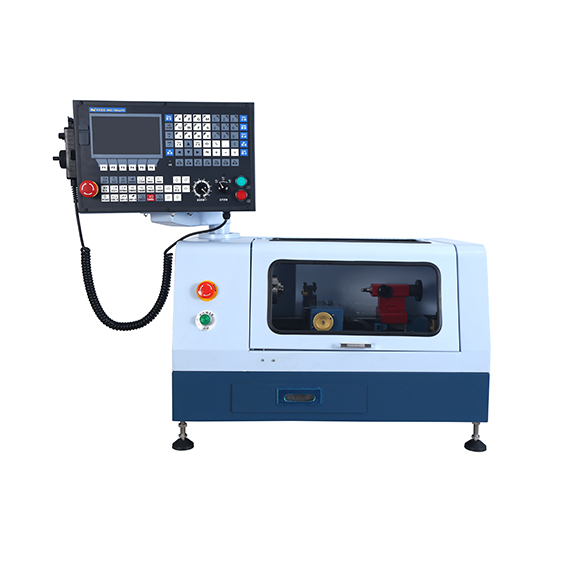
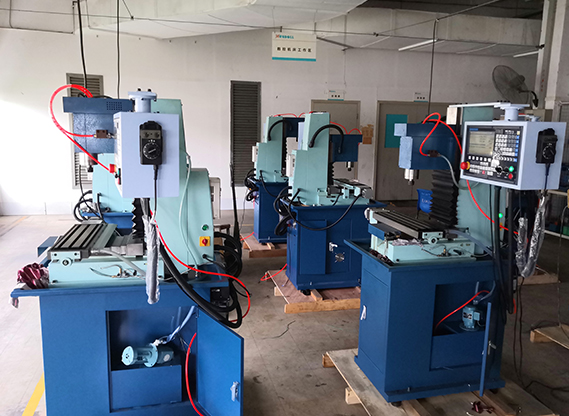
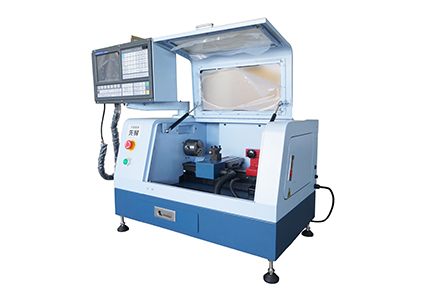
▸High performance 2 axis Lathe CNC controller.| ▸8 inches color screen, interface can be made of parameter selection in both Chinese and English.| ▸The standard spec includes MPG hand wheel.| ▸Selection of high -quality casting materials, more compact, High strength guide way.| ▸Automatic 4 positions tool post.| ▸Controller auto stop work when door open.| ▸High quality 2 axis AC Servor Motor.| ▸USB and RS232 port, DNC function of USB.| ▸Control speed of G code.| ▸Best choice for DIY or Hobby user and Education & Training CNC.|
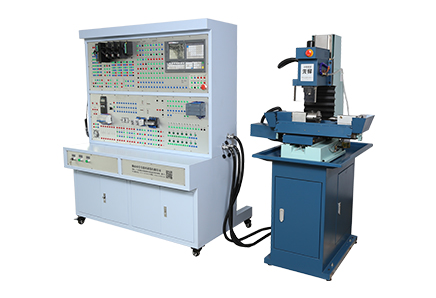
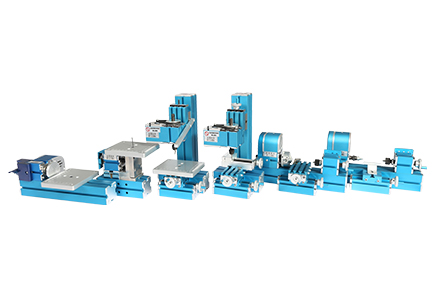
Metal Jigsaw | Metal woodturning Machine| Metal lathe Machine | Metal Milling Machine| Metal Drilling Machine| Metal Sanding Machine| Metal On-hand machine| Metal Drilling machine with dividing attachment


Xendoll has 22 years of experience in the production of small machine tools. We will help you choose the suitable machine and share our experience in CNC machining with you.
 Oct 15, 2025

 2055
2055
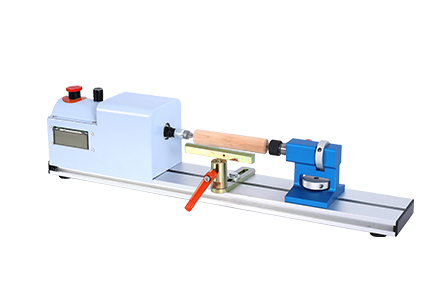
The gentle creak of wood rotating, the rhythmic tap of a chisel, and the slow, deliberate formation of a spindle or bowl—this is the timeless art of using a pole lathe. In our modern era of high-speed mini lathes and CNC precision, why would anyone choose this ancient, foot-powered tool? The answer lies in its pure, unadulterated connection to the craft. Building and using a pole lathe is not just about creating an object; it's about understanding the fundamental principles of woodturning, appreciating sustainable tool use, and experiencing a deeply satisfying, hands-on process. For machining enthusiasts, history buffs, and educators, constructing a pole lathe is a rewarding project that teaches mechanics, physics, and patience. This guide will walk you through the steps to build your own functional pole lathe using basic materials and hand tools.

A pole lathe is a study in elegant simplicity. Its operation relies on a reciprocating (back-and-forth) motion, unlike the continuous rotation of modern lathes. The power comes from a foot treadle, which pulls down on a cord wrapped around the workpiece. This cord is attached to a flexible "pole" (often a young tree or a sapling) overhead, which provides the return motion. Let's break down the construction into key stages.
The beauty of the pole lathe is its low-tech nature. You won't need a workshop full of advanced equipment to build it.
The Frame (The "Bed"): You will need sturdy timber for the main frame. Hardwood like oak or ash is ideal for durability, but any strong, dry softwood will work. The key components are two long side rails and two sturdy legs.
The "Pole": This is the spring of your system. A freshly cut, green sapling (hazel, ash, or hickory are excellent) about 8-10 feet long is traditional, as it remains flexible. Alternatively, a long, flexible fiberglass rod or even a heavy-duty spring can be used as a modern substitute.
The Treadle and Cord: The treadle can be a simple wooden plank. The cord can be robust natural twine, a leather strap, or paracord.
The Poppets (Tool Rests): You will need two adjustable centers to hold the workpiece. Traditionally, these are made from wood with a metal "center" point—a sharpened nail or a dedicated lathe center.
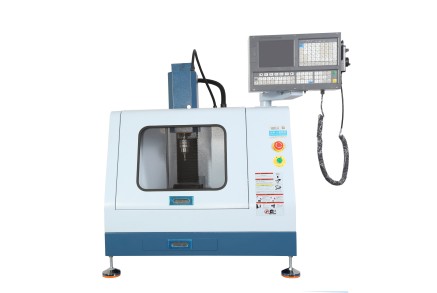
Essential Tools: A saw, a drill, a hammer, chisels, and a measuring tape are the core tools. For a more refined build, a power drill and a Xendoll mini milling machine could be used to precision-drill holes for adjustments, but it is not a necessity.
Start by constructing a solid, low bench. The frame should be robust enough to handle the pushing and pulling forces without wobbling. A simple design involves two long side rails (around 5-6 feet long) connected by cross members. Attach sturdy legs at each corner. Ensure the structure is square and stable. This frame is the foundation upon which everything else is built, so take your time to make it strong.
This is the heart of the pole lathe.
Mount the Pole: Secure the rigid end of your springy pole (the butt of the sapling) to the wall or a post behind the lathe, or build an A-frame over the lathe bed to hold it. It should be positioned directly above the center of your lathe bed.
Create the Treadle: The treadle is a lever that pivots on a bar beneath the lathe bed. It should be long enough for comfortable foot operation. One end is where you place your foot; the other end will have your cord attached.
Connect the System: Tie one end of your cord to the free, flexible end of the pole. Drape the cord down and wrap it once around your workpiece. Then, tie the other end to the end of the treadle opposite your foot. When you press the treadle down, it pulls the cord and spins the workpiece towards you. When you release, the pole's spring action pulls the cord back, spinning the workpiece away.
The poppets are the headstock and tailstock of your lathe. Carve two "V" shapes from a hard block of wood. Drill a hole in the center of each "V" to insert a metal point—a sharpened nail, a ground-down drill bit, or a proper lathe center. These poppets must be adjustable along the bed to accommodate different workpiece lengths. You can achieve this by using wooden wedges or a simple mortise and tenon slot system.
The tool rest is a simple horizontal bar placed between the two poppets, just below the centerline of the workpiece. It provides a solid surface to rest your chisels on while cutting.

Once assembled, using your pole lathe is a skill in itself. The cutting action only happens on the downstroke of the treadle when the wood spins towards you. This requires a different rhythm and technique compared to modern lathes, emphasizing control and finesse over speed. You will learn to use specialized hook tools and gouges designed for this intermittent cut.
The process of building a pole lathe from scratch is immensely educational. It demystifies the machine, turning it from a mysterious black box into a completely understandable mechanical system. For educators, it's a perfect STEM project, illustrating principles of leverage, spring force, and rotational energy. For the hobbyist, it offers a meditative, sustainable, and deeply rewarding way to create beautiful, turned wooden objects.
While the pole lathe connects us to our craft's history, modern tools like the precision mini lathes and compact milling machines from Xendoll offer the perfect complement. Once you've mastered the fundamentals on your pole lathe, you can use a modern mini lathe for projects requiring high-speed precision, intricate detailing, or different materials like metals and plastics. Understanding both the traditional and the modern makes you a more versatile and knowledgeable maker. Visit xendolltools.com to explore our range of equipment that can take your craftsmanship to the next level, building on the foundational skills you learn from projects like this.


 Show all our samples
Provide you with a free quote
Answer all the questions you may have
Guided installation and other options
Show all our samples
Provide you with a free quote
Answer all the questions you may have
Guided installation and other options