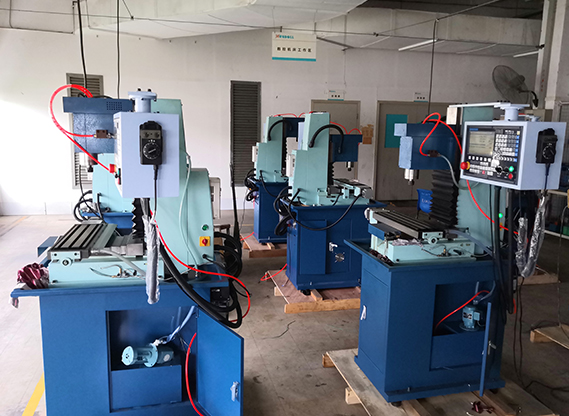
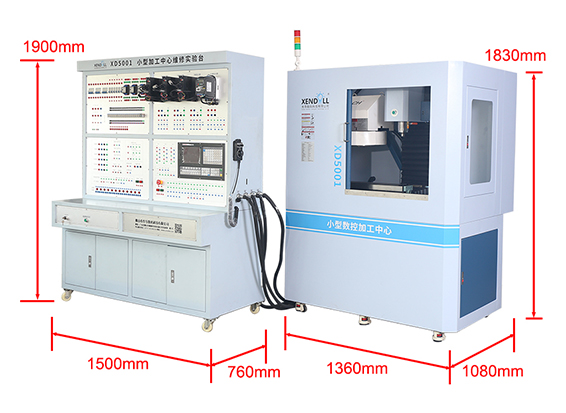
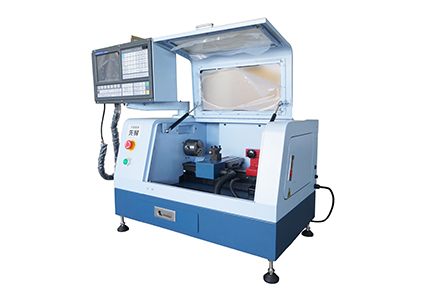
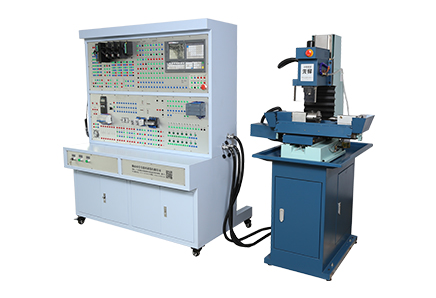
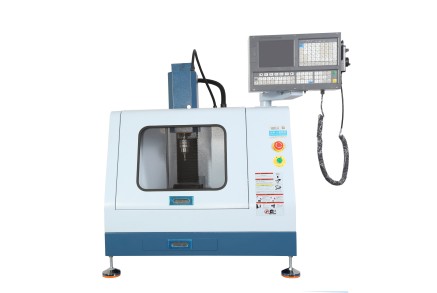
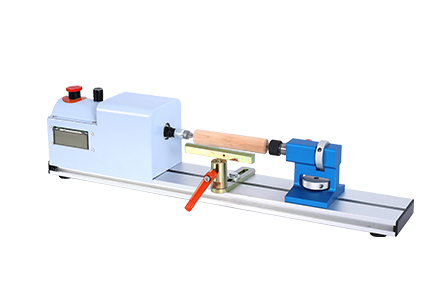
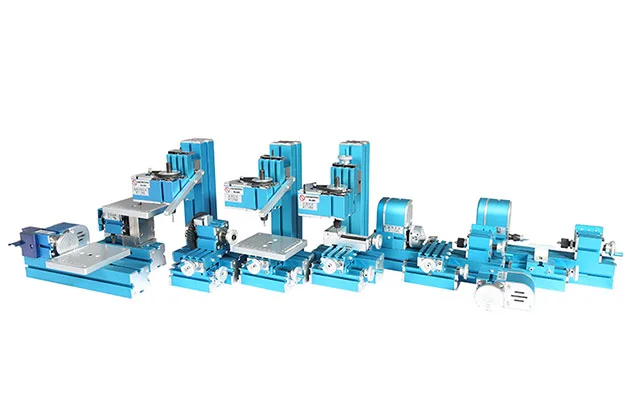
For machinists, workshop enthusiasts, and industrial equipment dealers, the lathe and the milling machine are often seen as two separate pillars of the machining world. The lathe spins a workpiece against a stationary tool to create cylindrical parts, while the milling machine moves a rotating cutter against a stationary workpiece to create complex shapes and flats. But what if you could combine these capabilities in one machine? This is where the ingenious technique of milling on a lathe comes into play. While not a replacement for a dedicated milling machine, this method opens up a world of possibilities for adding keyways, flats, and even simple gears to turned parts without unsetting them from the lathe chuck. For businesses and hobbyists using versatile mini lathes, like those from Xendoll Tools, mastering this technique significantly expands your workshop's capabilities with minimal additional investment.

The Core Principle: Converting Rotational Motion
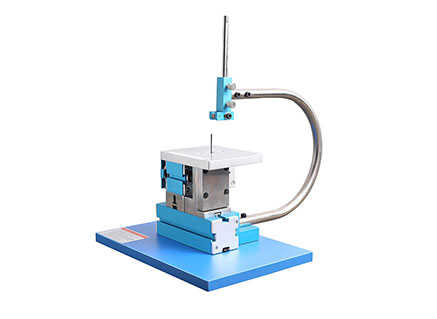
The fundamental challenge of milling on a lathe is that a standard lathe lacks the perpendicular axis movement (the Y-axis) of a milling machine. The solution lies in cleverly adapting the lathe's existing components. The core principle involves locking the headstock spindle to prevent the workpiece from rotating and then using a rotating cutting tool driven by an independent power source. The lathe's carriage and cross-slide then provide the X and Z-axis movements, effectively allowing you to "mill" the stationary workpiece.
This setup transforms your lathe from a pure turning center into a basic, yet highly effective, horizontal milling machine. The accuracy of this operation hinges on the rigidity and precision of your lathe, which is why using a robust and well-built mini lathe is crucial for successful results.
Essential Setup and Tools for Lathe Milling
To carry out milling safely and effectively, you need the right attachments and tools. Here’s a breakdown of the key components:
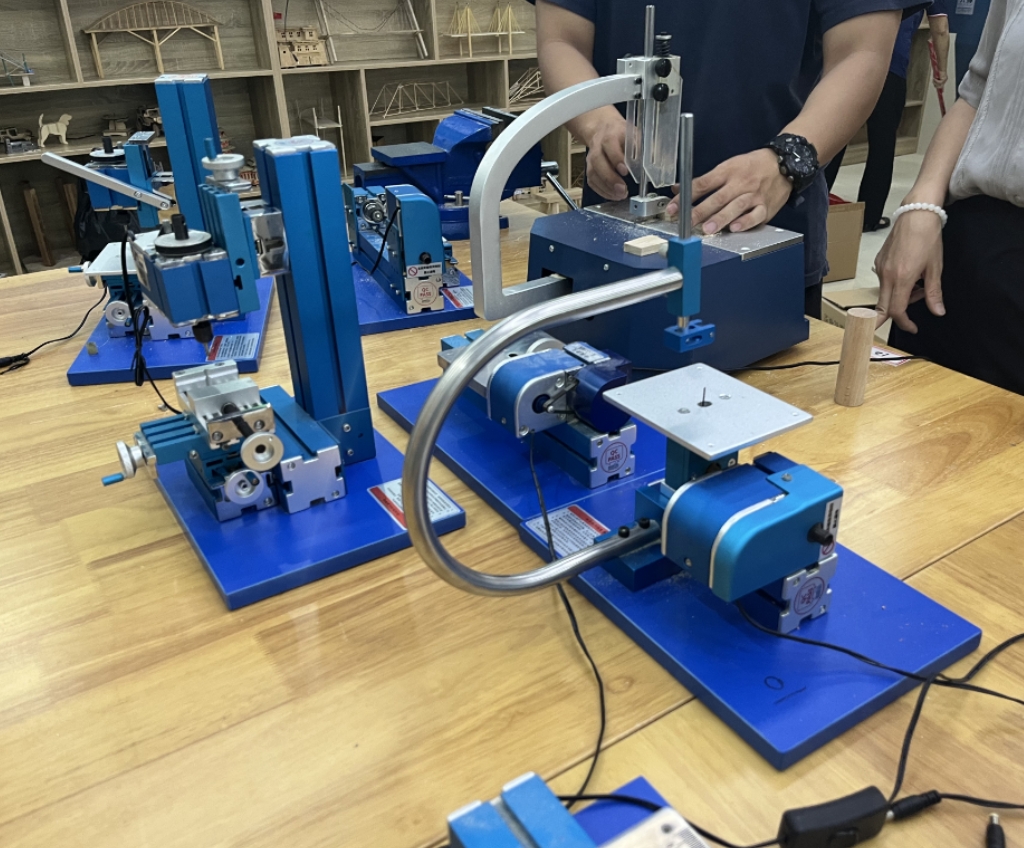
A Rigid Toolpost and Mounting Solution: The standard lantern toolpost is generally unsuitable. A Quick-Change Tool Post (QCTP), common on many modern mini lathes, provides a much more solid base. You will need a special holder, often called a "milling attachment" or "toolpost milling arbor," that clamps into the QCTP and holds the milling cutter.
The Milling Cutter: End mills are the most common cutters used. Unlike drill bits, they can cut on the sides and the end. For a lathe setup, smaller diameter end mills (e.g., ¼ inch or less) are recommended to minimize stress on the machine.
The Power Source for the Cutter: This is the most critical part of the setup. You have two primary options:
A Separate Electric Drill: This is the most accessible method. A powerful, variable-speed drill is clamped to the lathe bed or compound rest and connected to the milling arbor via a flexible coupling. It's cost-effective but can lack the rigidity and power for heavy cuts.
A Lathe-Powered Milling Attachment: More advanced setups use a dedicated attachment that is driven by the lathe's own spindle via a belt or gears. This provides more consistent power and speed control, resulting in better surface finishes and the ability to take heavier cuts.
Workholding and Spindle Lock: The workpiece must be held securely in the lathe chuck, and the headstock spindle must be locked. Most modern lathes have a spindle lock function for this exact purpose. For added precision, an indexing plate can be used to rotate and lock the spindle at precise angular intervals, allowing for operations like cutting gear teeth or drilling bolt hole circles.
The Step-by-Step Milling Process on a Lathe
Once your setup is complete, the milling process is methodical:
Secure the Workpiece: Mount your pre-turned part securely in the lathe chuck. Ensure it is running true before you lock the spindle.
Mount the Milling Cutter: Install the end mill into the milling arbor on your toolpost. Ensure it is centered on the workpiece's height as accurately as possible.
Lock the Spindle: Engage the lathe's spindle lock mechanism.
Position and Make the Cut: Start the power source for the milling cutter (the drill or the lathe motor). Use the lathe's carriage handwheel for longitudinal (X-axis) movement and the cross-slide for in-and-out (Z-axis) depth of cut. Move the carriage slowly and steadily to feed the workpiece into the rotating cutter.
Take Light Cuts: The most important rule for milling on a lathe is to take light, shallow cuts. The setup is not as rigid as a dedicated mill, so attempting to remove too much material at once will lead to poor finish, tool breakage, or damage to the lathe.
Advantages, Limitations, and Ideal Applications
Milling on a lathe is a testament to a machinist's ingenuity, offering distinct advantages, especially for owners of compact workshops. It eliminates the need to transfer a part between two machines, preserving critical alignment and saving time for simple secondary operations. It is a highly cost-effective way to add milling capabilities without purchasing a separate machine.
However, it has inherent limitations. The lack of a true Y-axis restricts the complexity of parts you can produce. Rigidity is also a major constraint, meaning material removal rates are low, and it is unsuitable for heavy-duty milling in steel or other tough materials.
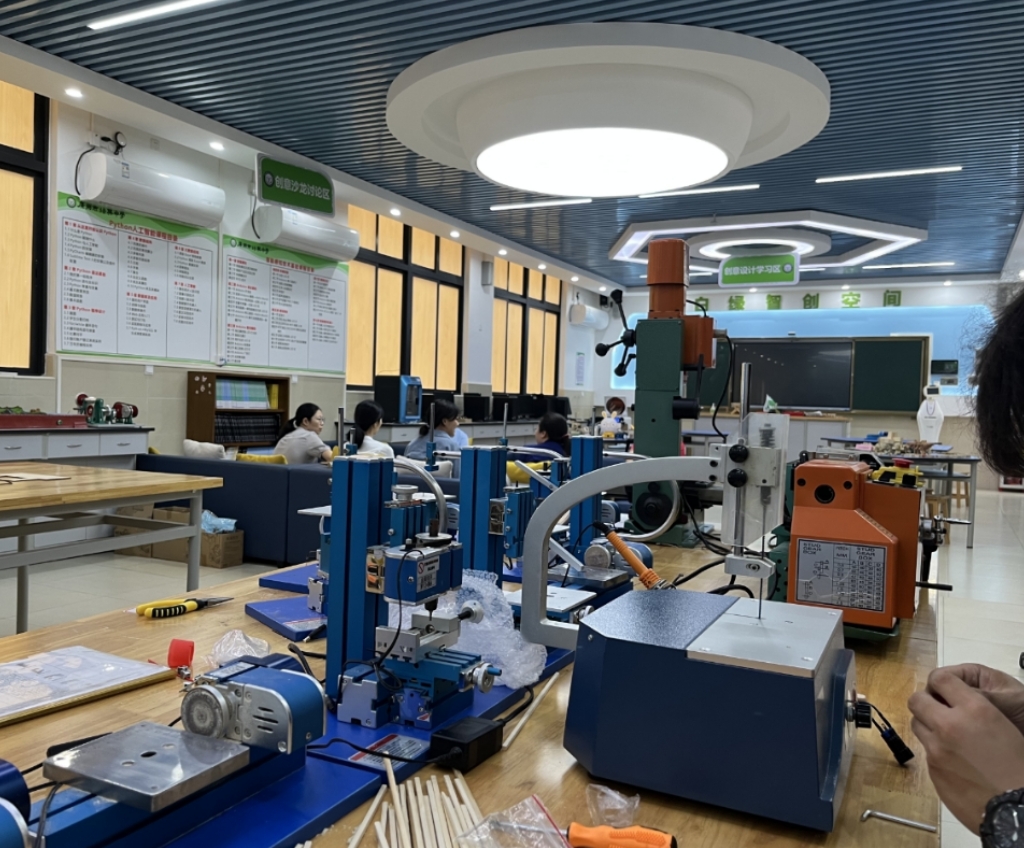
This technique is perfectly suited for hobbyists, model engineers, and educational settings where space and budget are limited. It is ideal for tasks like cutting a keyway in a shaft, flattening a side of a piston, or creating a simple hex bolt head on a turned part. For distributors of Xendoll mini lathes and milling machines, promoting this technique demonstrates the incredible versatility and value of our equipment, empowering our customers to achieve more within their compact workshop footprint.

Conclusion: Unlocking Greater Versatility in Your Workshop
In summary, milling on a lathe is a practical and highly useful technique that bridges the gap between two fundamental machining processes. By locking the spindle and powering a rotating end mill, you can use the precise movements of your lathe's carriage to perform a variety of basic milling operations. While it demands a careful setup, light cutting passes, and an understanding of its limitations, the ability to add flats, slots, and other features to a cylindrical part in a single setup is an invaluable skill. For anyone from a professional mechanical dealer to a passionate machining enthusiast, mastering this method unlocks the full potential of a versatile mini lathe, transforming it from a simple turning machine into a more comprehensive, compact machining center.
For details, please refer to the following link:https://www.xendolltools.com/category/micro-cnc-machine.html


 Sep 29, 2025

 1386
1386


 Show all our samples