
Blog
Xendoll has 22 years of experience in the production of small machine tools. We will help you choose the suitable machine and share our experience in CNC machining with you.

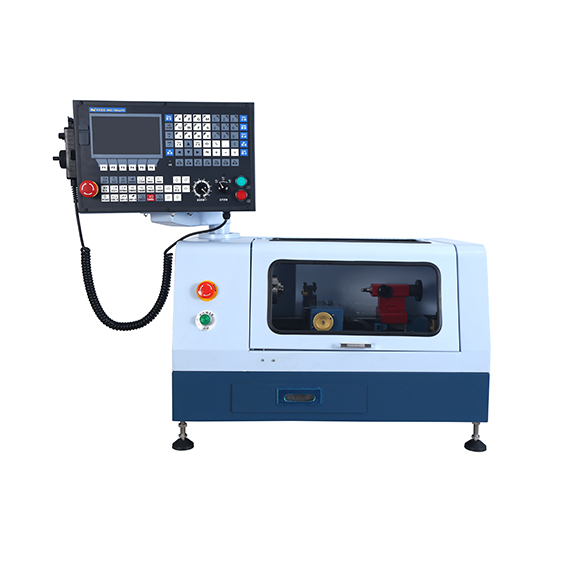
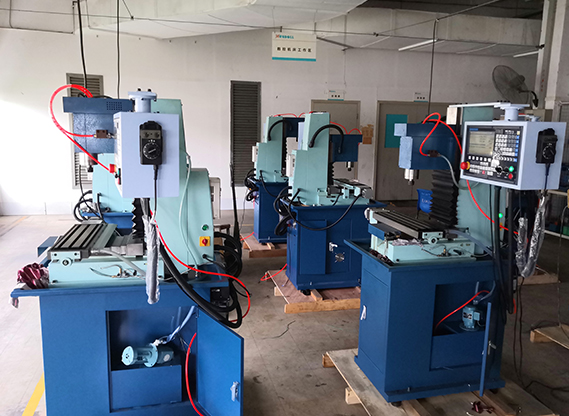
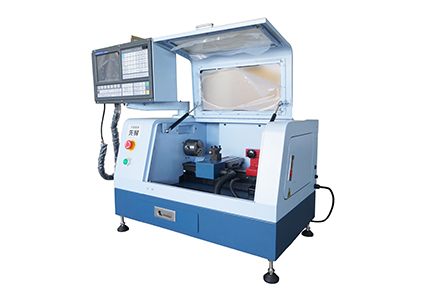
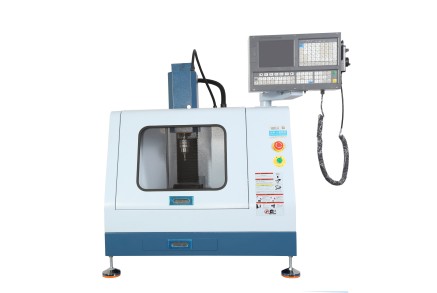
▸High performance 2 axis Lathe CNC controller.| ▸8 inches color screen, interface can be made of parameter selection in both Chinese and English.| ▸The standard spec includes MPG hand wheel.| ▸Selection of high -quality casting materials, more compact, High strength guide way.| ▸Automatic 4 positions tool post.| ▸Controller auto stop work when door open.| ▸High quality 2 axis AC Servor Motor.| ▸USB and RS232 port, DNC function of USB.| ▸Control speed of G code.| ▸Best choice for DIY or Hobby user and Education & Training CNC.|
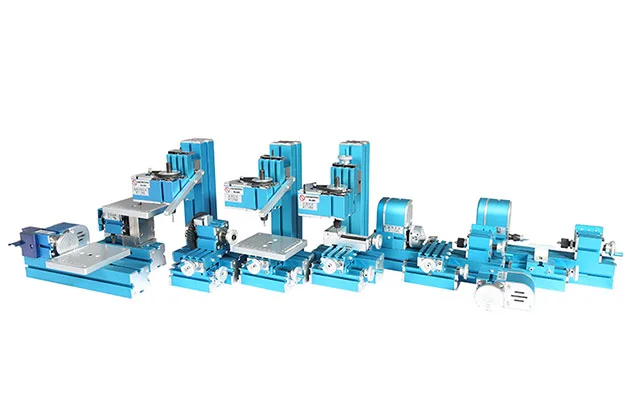
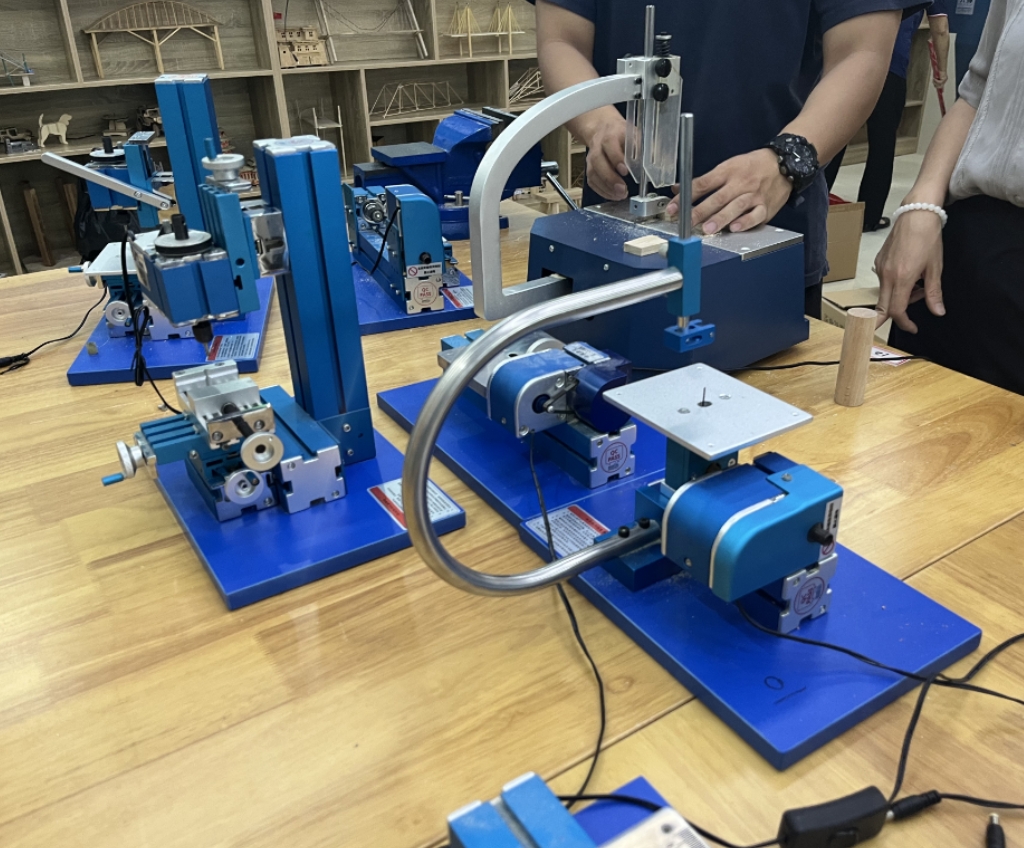
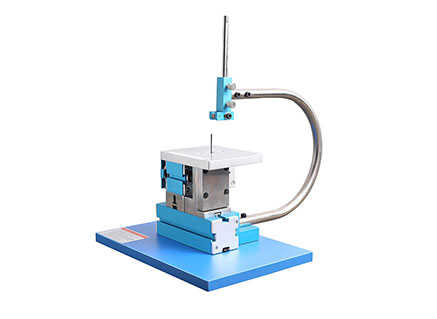
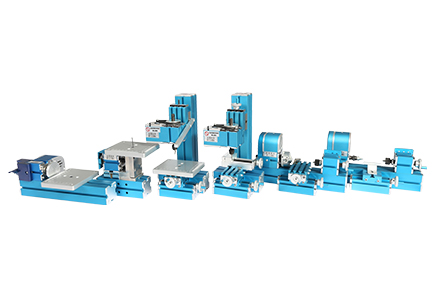
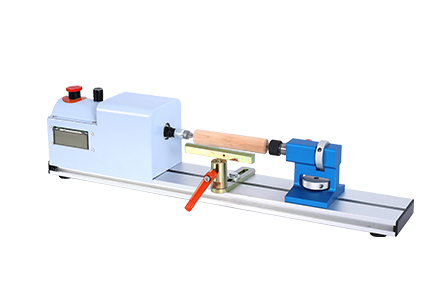
Metal Jigsaw | Metal woodturning Machine| Metal lathe Machine | Metal Milling Machine| Metal Drilling Machine| Metal Sanding Machine| Metal On-hand machine| Metal Drilling machine with dividing attachment


Xendoll has 22 years of experience in the production of small machine tools. We will help you choose the suitable machine and share our experience in CNC machining with you.
 Nov 19, 2025

 1017
1017
For machining enthusiasts and small workshops, space and budget are often limiting factors. The lathe, often called the "father of machine tools," is a versatile centerpiece. But can it perform the functions of its cousin, the milling machine? The answer is a resounding yes. By integrating specific attachments and techniques, you can effectively perform milling operations on a lathe. This guide will explore how milling is carried out in a lathe machine, transforming it into a compact, multi-functional powerhouse perfect for hobbyists, prototype developers, and educational workshops.

At its heart, a standard lathe operates by rotating the workpiece against a stationary cutting tool. Milling, conversely, involves a rotating cutting tool moving against a stationary (or linearly moving) workpiece. To perform milling on a lathe, we must reverse this fundamental dynamic. The key is to find a way to rotate the cutting tool (the mill) while securely holding and precisely moving the workpiece. This is achieved not by altering the lathe itself, but by using clever attachments that leverage the lathe's existing power and precision.
Several tools and methods enable milling on a lathe, each with its own advantages and ideal use cases.
This is the most common and effective solution. A milling attachment is a self-contained unit that mounts directly to the lathe's cross-slide or compound rest. Its primary components are:
A Spindle: This is the rotating shaft that holds the milling cutter (e.g., end mills, slot drills). The spindle is oriented perpendicularly or at an adjustable angle to the lathe bed.
A Drive Mechanism: The spindle is powered by the lathe's own motor. This is typically done using a belt drive connected to the lathe's headstock or a separate electric motor integrated into the attachment.
With a milling attachment, the workpiece is clamped securely to the lathe's cross-slide. The rotating milling cutter is then fed into the workpiece by moving the cross-slide handles, allowing you to create flats, slots, keyways, and pockets with high precision.
For lighter, more creative tasks, you can use a handheld rotary tool (like a Dremel) mounted securely to the lathe's tool post. The critical element here is workpiece holding.
Four-Jaw Independent Chuck: This is essential because it allows you to precisely center and, more importantly, offset the workpiece. By offsetting the workpiece, you can create eccentric turns or use the rotary tool to "mill" features by manually feeding the lathe's carriage.
The Process: The rotary tool acts as the milling spindle. The workpiece, held in the four-jaw chuck, is rotated slowly by the lathe. By coordinating the rotation of the workpiece with the linear movement of the carriage and the position of the rotary tool, you can engrave complex patterns, create light slots, or perform delicate carving work.
A simpler cousin to the milling attachment, a vertical slide provides a vertically mounted platform that can be raised and lowered. You mount your workpiece to this slide, and a milling cutter is held in the lathe's headstock, just like a standard drilling operation. By moving the vertical slide and the cross-slide, you can feed the workpiece into the rotating cutter. This method is excellent for simple face milling and creating small, flat surfaces.
Let's walk through a simple example: milling a flat surface on a round bar using a milling attachment.
Setup and Safety First: Ensure the lathe is powered off. Mount the milling attachment securely to the cross-slide. Install a suitable end mill into the attachment's collet or chuck. Wear safety glasses.
Secure the Workpiece: Clamp the round bar securely to the lathe's cross-slide or a dedicated angle plate. Ensure it is immobilized and will not move during the cutting process.
Align the Cutter: Use a dial indicator to ensure the milling cutter is perfectly aligned with the travel of the cross-slide. This ensures a flat, true milled surface.
Set the Speed and Feed: Set the lathe to a slow spindle speed suitable for the diameter of your end mill and the material being cut. Milling requires slower speeds than turning.
Execute the Cut: Start the lathe and gently engage the milling cutter with the workpiece. Use the cross-slide handwheel to feed the workpiece laterally across the rotating cutter. Take light cuts to avoid overloading the attachment or the lathe.
Final Check: Stop the machine and check the flatness and dimensions of your milled surface. Readjust and take another pass if necessary.
Advantages:
Space and Cost Efficiency: It eliminates the need for a separate, expensive milling machine, making it ideal for home workshops and educational labs.
Enhanced Versatility: It dramatically increases the range of parts you can create on a single machine.
Precision: A good quality milling attachment on a precision lathe can produce highly accurate results.
Limitations:
Rigidity: Lathes are not as rigid as dedicated milling machines, which can limit the depth of cut and the materials you can effectively machine.
Capacity: The size of the workpiece you can mill is often limited by the attachment and the lathe's swing.
Set-Up Time: Adding an attachment requires time for setup and alignment, which can be less efficient for high-volume production.

While it will never fully replace a dedicated vertical milling machine, performing milling operations on a lathe is a highly practical and powerful technique. By utilizing attachments like a dedicated milling unit or a four-jaw chuck, you can unlock a new dimension of manufacturing capability from your existing equipment. For mechanical dealers, educational institutions, and passionate machining hobbyists, this knowledge represents an opportunity to maximize ROI and expand creative possibilities. At Xendoll Tools, we design our mini lathes and compatible accessories with this very versatility in mind, empowering you to build, create, and innovate without limits.


 Show all our samples
Provide you with a free quote
Answer all the questions you may have
Guided installation and other options
Show all our samples
Provide you with a free quote
Answer all the questions you may have
Guided installation and other options