
Blog
Xendoll has 22 years of experience in the production of small machine tools. We will help you choose the suitable machine and share our experience in CNC machining with you.

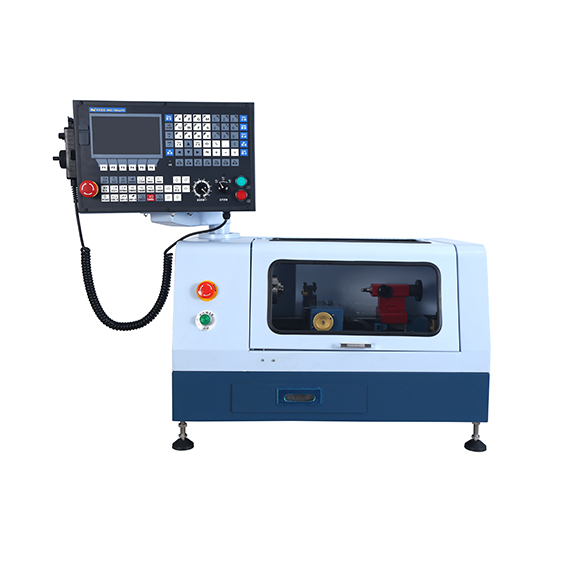
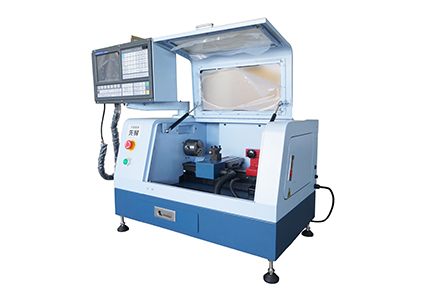
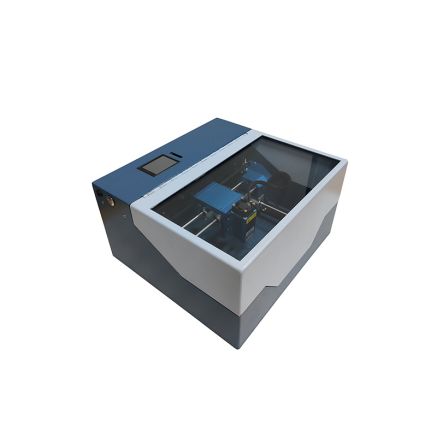
▸High performance 2 axis Lathe CNC controller.| ▸8 inches color screen, interface can be made of parameter selection in both Chinese and English.| ▸The standard spec includes MPG hand wheel.| ▸Selection of high -quality casting materials, more compact, High strength guide way.| ▸Automatic 4 positions tool post.| ▸Controller auto stop work when door open.| ▸High quality 2 axis AC Servor Motor.| ▸USB and RS232 port, DNC function of USB.| ▸Control speed of G code.| ▸Best choice for DIY or Hobby user and Education & Training CNC.|
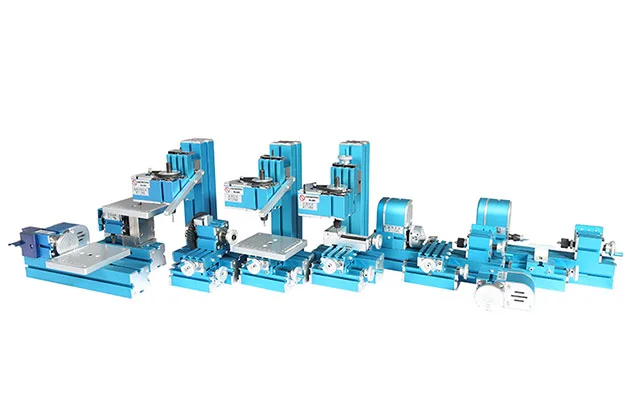
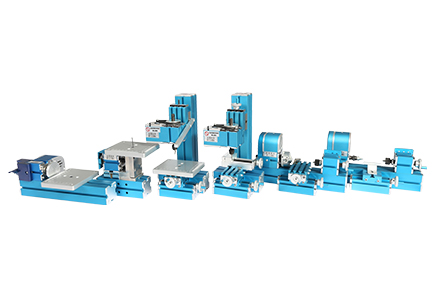
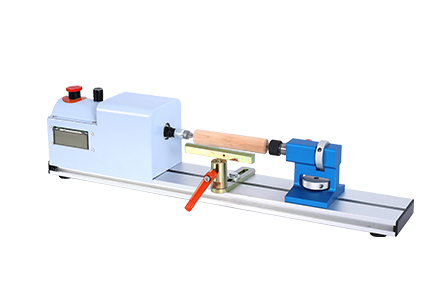
Metal Jigsaw | Metal woodturning Machine| Metal lathe Machine | Metal Milling Machine| Metal Drilling Machine| Metal Sanding Machine| Metal On-hand machine| Metal Drilling machine with dividing attachment


Xendoll has 22 years of experience in the production of small machine tools. We will help you choose the suitable machine and share our experience in CNC machining with you.
 Sep 15, 2025

 1525
1525
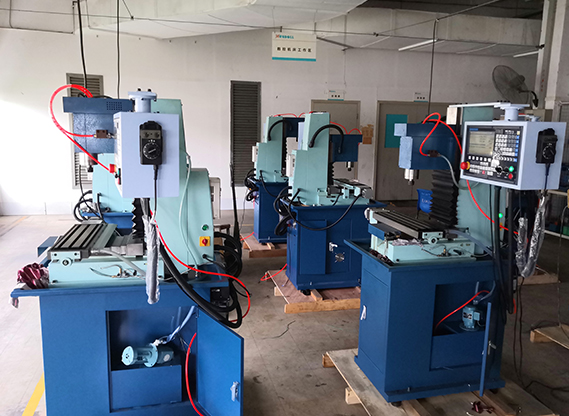
For machining enthusiasts, workshops, and educational institutions, the precision and automation of a Computer Numerical Control (CNC) lathe are incredibly appealing. However, the high cost of a new CNC machine can be a significant barrier. This is where retrofitting comes in—a brilliant and cost-effective solution that breathes new life into a traditional manual lathe. By retrofitting, you can transform your trusted manual machine into a semi or fully automated CNC powerhouse, combining the best of both worlds: familiar mechanics with modern digital control.
At Xendoll Tools, we specialize in providing high-quality mini machinery and components perfect for such innovative projects. This guide will walk you through the fundamental steps of how to retrofit a lathe machine to work like a CNC.

A successful retrofit involves replacing the manual control elements with digital, computer-driven systems. Here’s a breakdown of the essential components you'll need:
1. Motion Control System: The "Brain and Muscles"
This is the heart of your retrofit. It consists of:
Stepper or Servo Motors: These replace the handwheels and will precisely control the movement of the lathe's carriage and cross-slide . Servo motors offer higher torque and precision, while stepper motors are a more cost-effective solution for smaller machines like benchtop lathes.
Motor Drivers/Amplifiers: These devices take low-power signals from the control board and amplify them to drive the motors with the necessary power and precision.
CNC Controller Board: This is the literal "brain." It interprets commands from the computer and sends step and direction signals to the motor drivers. Popular options include boards from Masso, Mach3/4 (with a compatible motion card), or open-source solutions like Arduino with GRBL.
2. The Computer and Software: The "Nervous System"
You will need a dedicated computer to run two types of software:
CAD/CAM Software: This is where you design your part and then generate the toolpaths . The CAM software translates your design into G-code, the language the CNC controller understands.
Control Software: Software like Mach3, Mach4, or LinuxCNC reads the G-code and communicates directly with the CNC controller board, sending the movement commands in real-time.
3. Mechanical Components and Hardware
Retrofitting isn't just electronics. You'll need mechanical parts to connect the new motors to the old machine:
Motor Mounts: Custom brackets to securely attach the new motors to the lathe's lead screws.
Couplings: These connect the motor shaft to the lathe's lead screw, compensating for any minor misalignments. Flexible couplings are often preferred.
Ball screws (Optional but Recommended): While not always essential for a first retrofit, replacing traditional lead screws with precision ball screws can significantly reduce backlash and improve accuracy.
1. Planning and Disassembly
Begin by thoroughly assessing your manual lathe. Ensure the bed, spindle, and core mechanics are in good condition. Document everything with photos and notes during disassembly. Label every part and bag fasteners to make reassembly smoother. This is the most crucial step to avoid frustration later.
2. Installing the Motors and Drives
Fabricate or purchase motor mounts that align perfectly with your lathe's existing screw points. Attach the couplings and then the motors. Precise alignment is critical here to prevent binding and premature wear. Route the motor cables neatly and securely away from moving parts and chips.
3. Wiring and Electrical Integration
Connect each motor to its respective driver. Then, connect the drivers to the CNC controller board. This stage requires careful attention to the manufacturer's wiring diagrams. Safety is paramount: ensure all components are properly grounded and that your system is protected by appropriate fuses or circuit breakers.
4. Software Setup and Configuration
Install your control software on the dedicated PC. This is where you configure the software to match your machine's specific parameters: steps per millimeter (or inch) for each axis, motor acceleration, maximum speed, and soft limits. This calibration process determines the accuracy of your machine.
5. Testing and Calibration
Before cutting metal, test everything in the air. Jog the axes slowly and ensure they move in the correct direction. Use a dial indicator to measure actual travel against commanded travel and fine-tune your steps-per-unit settings. Finally, perform test cuts on soft material like wax or wood to validate performance and make final adjustments.

Retrofitting a manual lathe into a CNC is a profoundly rewarding project that enhances your capabilities without the expense of a new machine. It offers unparalleled learning opportunities and gives you complete control over your equipment's functionality and maintenance.
While the process requires mechanical aptitude and patience, the result is a custom, versatile machine tailored to your specific needs. For workshops and educational settings, it serves as an excellent tool for teaching the fundamentals of both machining and mechatronics.
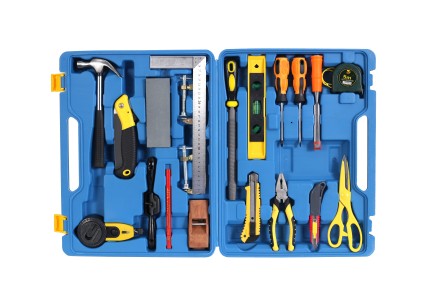
For your retrofit project, having reliable components is non-negotiable. At Xendoll Tools, we offer a range of robust mini lathes, precision tools, and accessories that are ideal for enthusiasts and professionals undertaking such upgrades. Explore our products at www.xendolltools.com to find the high-quality parts you need to ensure your CNC retrofit is a resounding success.
Embrace the challenge and transform your workshop into a modern, digital fabrication hub!


 Show all our samples
Provide you with a free quote
Answer all the questions you may have
Guided installation and other options
Show all our samples
Provide you with a free quote
Answer all the questions you may have
Guided installation and other options