

Blog
Xendoll has 22 years of experience in the production of small machine tools. We will help you choose the suitable machine and share our experience in CNC machining with you.

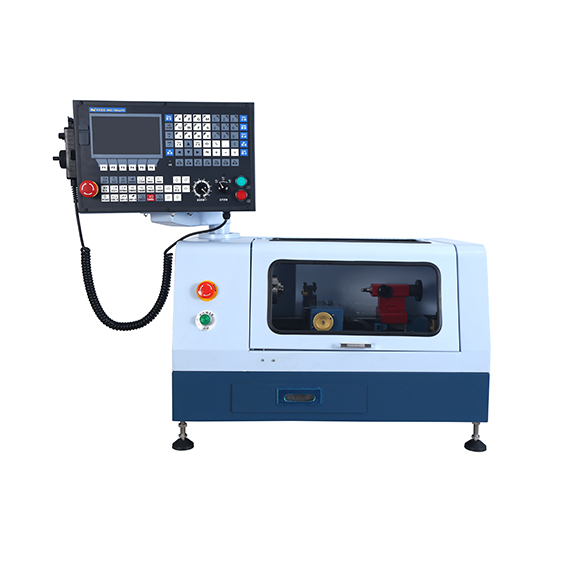
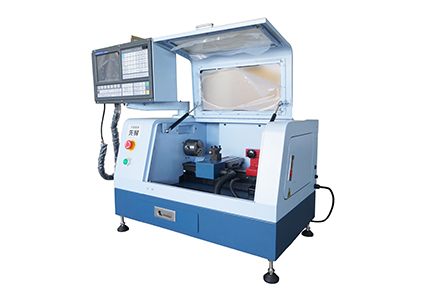
▸High performance 2 axis Lathe CNC controller.| ▸8 inches color screen, interface can be made of parameter selection in both Chinese and English.| ▸The standard spec includes MPG hand wheel.| ▸Selection of high -quality casting materials, more compact, High strength guide way.| ▸Automatic 4 positions tool post.| ▸Controller auto stop work when door open.| ▸High quality 2 axis AC Servor Motor.| ▸USB and RS232 port, DNC function of USB.| ▸Control speed of G code.| ▸Best choice for DIY or Hobby user and Education & Training CNC.|
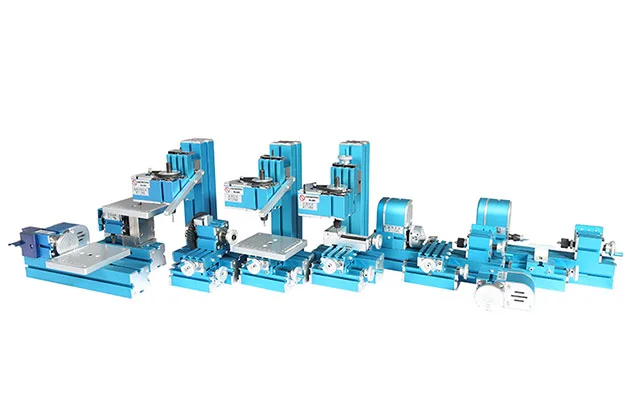
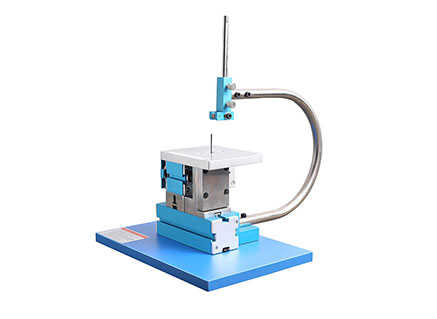
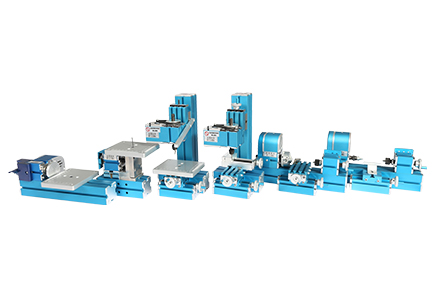
Metal Jigsaw | Metal woodturning Machine| Metal lathe Machine | Metal Milling Machine| Metal Drilling Machine| Metal Sanding Machine| Metal On-hand machine| Metal Drilling machine with dividing attachment


Xendoll has 22 years of experience in the production of small machine tools. We will help you choose the suitable machine and share our experience in CNC machining with you.
 Nov 10, 2025

 1139
1139
Creating a custom wooden pipe stem is a deeply satisfying project that blends precision, artistry, and the timeless appeal of working with wood. For machining enthusiasts and hobbyists, it’s a perfect task to hone skills on a mini lathe, transforming a simple block of briar, maple, or cherry into a functional and beautiful object. This guide will walk you through the process, emphasizing the precision and control that quality tools, like those from Xendoll Tools, bring to your workshop. Whether you're a seasoned machinist or a curious beginner, mastering this project will add a unique skill to your repertoire.

Before the first cut is made, proper preparation is crucial. The right materials and tools don't just make the job easier—they ensure a professional and durable result.
Wood Selection: The ideal wood for a pipe stem is hard, heat-resistant, and has a fine grain. Briarwood is the gold standard for pipes, but excellent alternatives include cherry, maple, or walnut. Ensure your wood blank is dry and free of cracks.
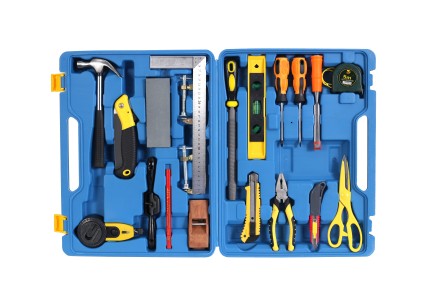
Essential Tools:
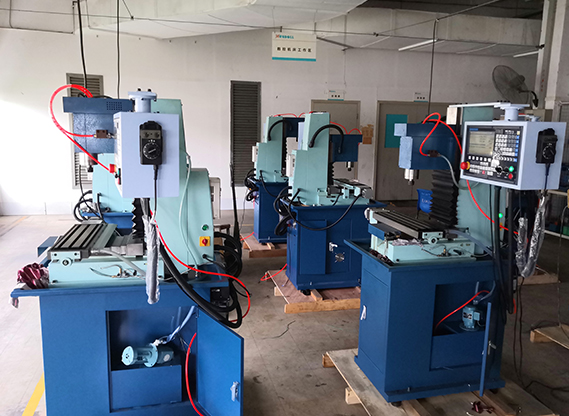
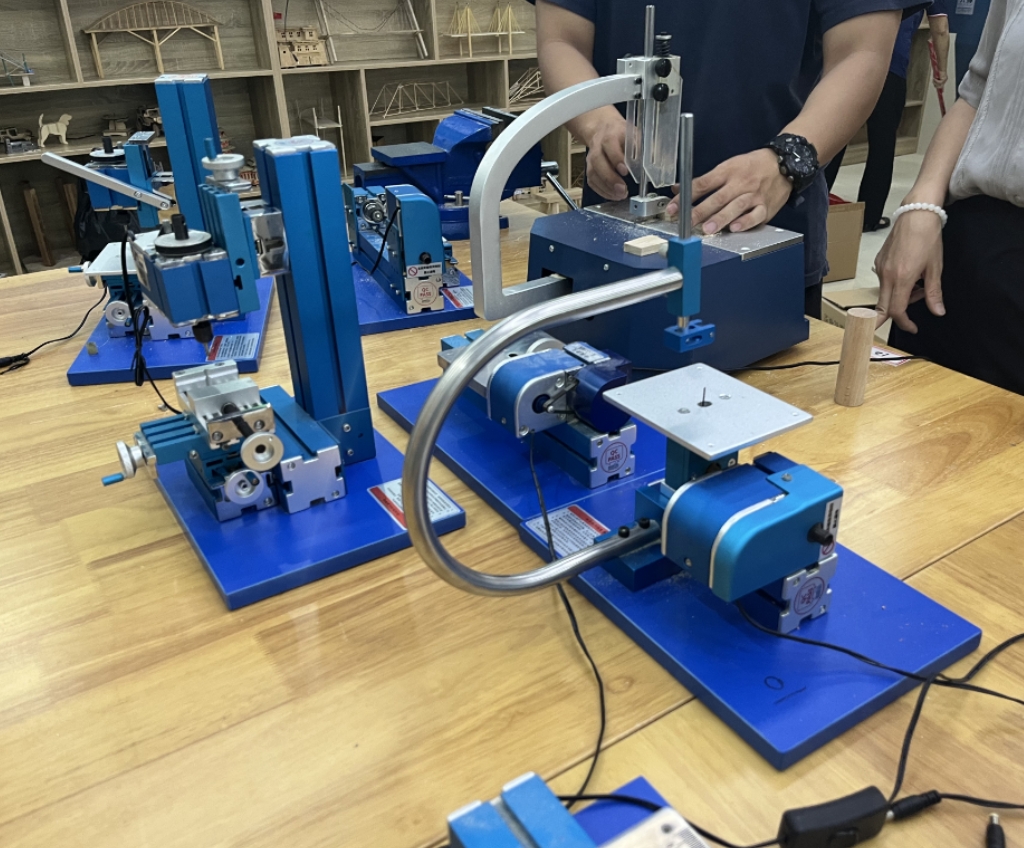
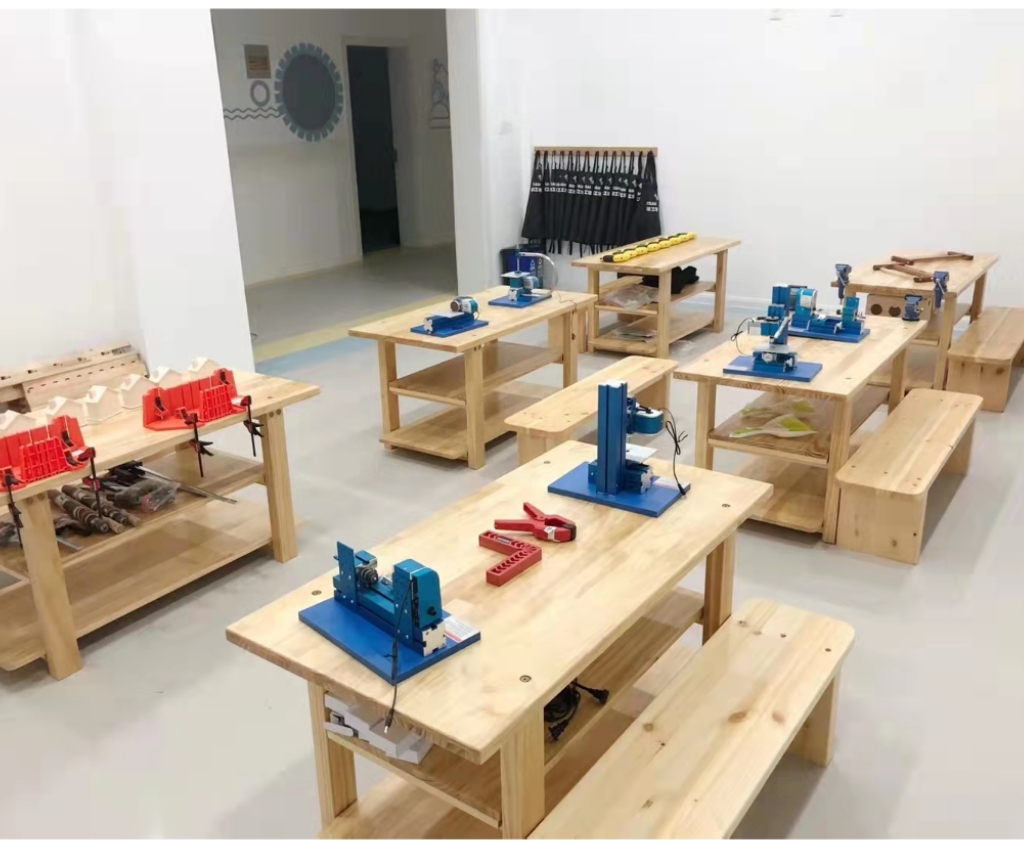
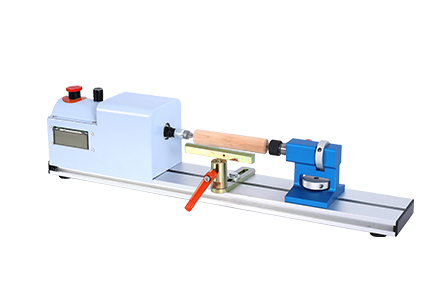
Mini Lathe: The centerpiece of this project. A stable and precise mini lathe, such as those from Xendoll, is indispensable for achieving the symmetrical, rounded shapes of a pipe stem.
Lathe Chisels: You will need a set of gouges and chisels. A roughing gouge, spindle gouge, and a skew chisel are essential for shaping and detailing.
Drill Press or Lathe Chuck: You'll need to drill a perfectly straight airway through the center of the stem. A drill press offers great control, but a lathe with a chuck allows for even more precise on-axis drilling.
Measuring Tools: Calipers, a ruler, and a marking gauge are necessary for maintaining accurate dimensions.
Sanding & Finishing Supplies: A progression of sandpaper (from 120 to 600 grit), a food-safe finish like mineral oil or beeswax, and a soft cloth.
With your materials ready, the real craftsmanship begins. Follow these steps to turn your wood blank into an elegant pipe stem.
1. Design and Marking the Blank
Start by sketching your desired stem profile on paper. Consider the length, diameter, and the style of the tenon (the part that fits into the pipe bowl). Transfer this design onto your wooden blank, marking the center points on each end. This blueprint will be your guide throughout the turning process.
2. Mounting the Blank on the Lathe
Secure your wooden blank between the lathe's centers or in a chuck. For a long, thin piece like a pipe stem, using a steady rest can prevent chatter and vibration, ensuring a smoother cut. This is where the stability of a high-performance mini lathe truly shines, providing the vibration-free operation needed for fine detail work.
3. Roughing and Shaping
With your lathe set at a moderate speed, use a roughing gouge to turn the square blank into a smooth, round cylinder. Once cylindrical, switch to your spindle gouge and skew chisel to begin carving the profile you designed. Work slowly and methodically, frequently checking your dimensions with calipers. The goal is to create a comfortable, aesthetically pleasing taper.
4. Drilling the Airway
This is the most critical step for functionality. If using a drill press, carefully drill a small pilot hole (typically 1/8 inch or 3mm) through the center of the blank before mounting it on the lathe. For the highest precision, mount the shaped stem in a 4-jaw chuck on the lathe and use a drill bit in the tailstock. This guarantees the airway is perfectly centered along the stem's entire length—a task that demands absolute precision from your tools.
5. Sanding for a Perfect Finish
While the stem is still spinning on the lathe, begin the sanding process. Start with a coarse grit (e.g., 120) to remove any minor tool marks, and progressively work your way through finer grits (220, 320, 400, 600). Each pass will make the wood smoother, preparing it for the final finish.
6. Applying the Final Finish
Apply your chosen food-safe finish to the spinning stem. A few drops of mineral oil or a swipe of beeswax will do. The centrifugal force will help distribute it evenly and allow it to be absorbed deeply. Buff it with a soft cloth to bring out a soft, protective luster that enhances the wood's natural grain.

Crafting a wooden pipe stem from scratch is more than just a project; it's a testament to the maker's skill and the capability of their tools. From the initial rough blank to the final polished piece, every step relies on the control, stability, and precision that define a quality mini lathe. For enthusiasts and professionals who demand excellence from their equipment, this project perfectly illustrates how the right tools empower creativity. By mastering these techniques, you not only create a unique and personal item but also elevate your machining expertise to a new level of artistry.
Explore the precision and power that can elevate your next project. Visit xendolltools.com to discover the full range of mini lathes and machining tools designed for dedicated creators like you.


 Show all our samples
Provide you with a free quote
Answer all the questions you may have
Guided installation and other options
Show all our samples
Provide you with a free quote
Answer all the questions you may have
Guided installation and other options