
Blog
Xendoll has 22 years of experience in the production of small machine tools. We will help you choose the suitable machine and share our experience in CNC machining with you.

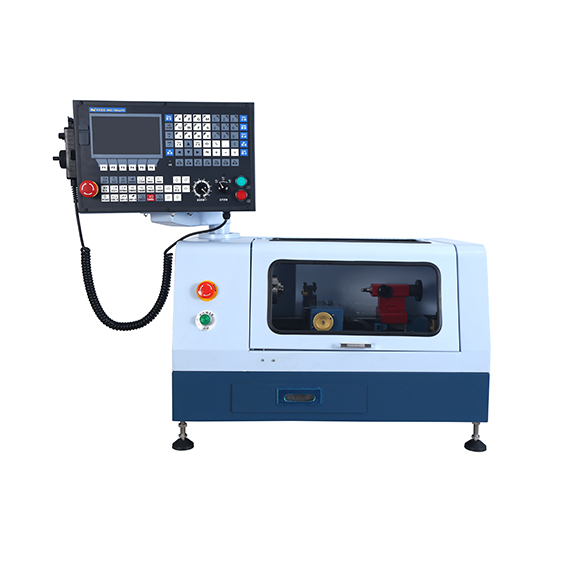
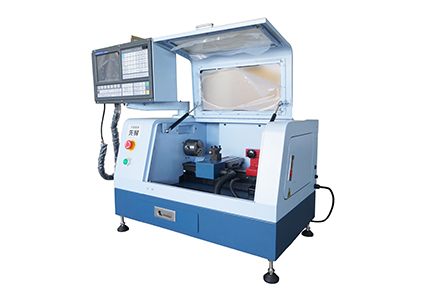
▸High performance 2 axis Lathe CNC controller.| ▸8 inches color screen, interface can be made of parameter selection in both Chinese and English.| ▸The standard spec includes MPG hand wheel.| ▸Selection of high -quality casting materials, more compact, High strength guide way.| ▸Automatic 4 positions tool post.| ▸Controller auto stop work when door open.| ▸High quality 2 axis AC Servor Motor.| ▸USB and RS232 port, DNC function of USB.| ▸Control speed of G code.| ▸Best choice for DIY or Hobby user and Education & Training CNC.|
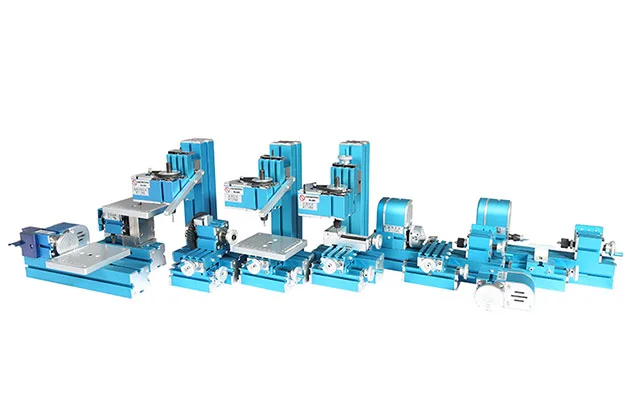
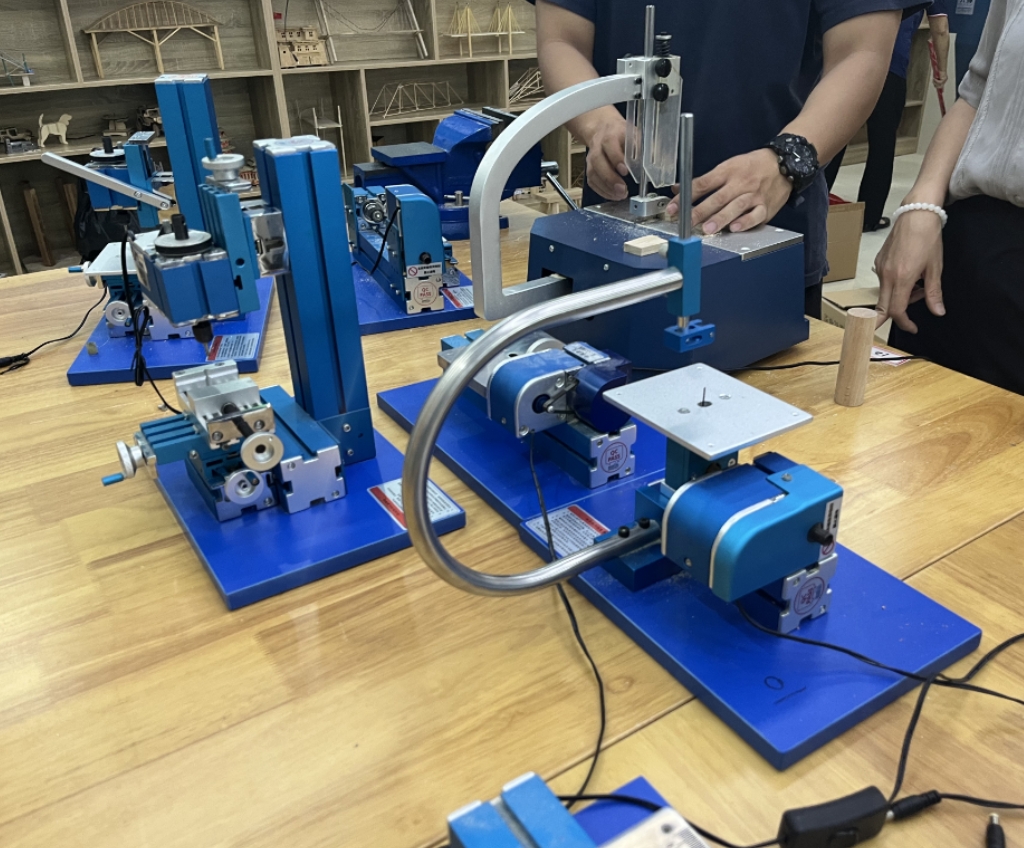
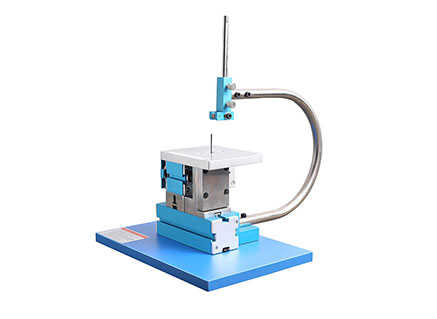
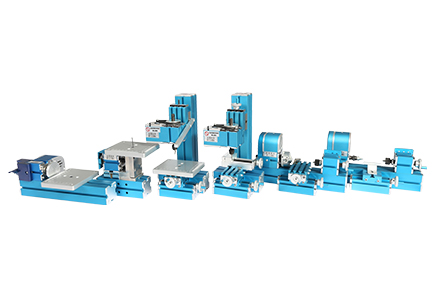
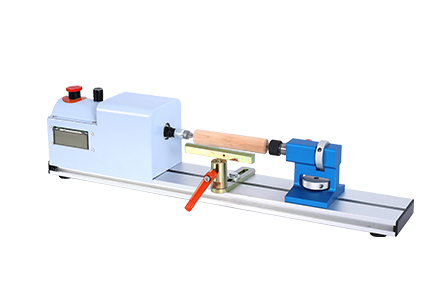
Metal Jigsaw | Metal woodturning Machine| Metal lathe Machine | Metal Milling Machine| Metal Drilling Machine| Metal Sanding Machine| Metal On-hand machine| Metal Drilling machine with dividing attachment


Xendoll has 22 years of experience in the production of small machine tools. We will help you choose the suitable machine and share our experience in CNC machining with you.
 Oct 29, 2025

 1400
1400
For machinists, hobbyists, and professionals alike, achieving precision is the ultimate goal. Few things are more frustrating than spending hours on a lathe project, only to discover a subtle but critical taper in your finished workpiece. Instead of a perfectly cylindrical part, you have one that is slightly larger in diameter at one end than the other. This common issue, known as the lathe machine taper problem, can compromise the functionality of your components and lead to wasted time and material. Understanding the root causes of this problem is the first and most crucial step toward achieving the high-precision results you demand from your equipment, whether you're using a benchtop model or an industrial machine.
At its core, the lathe taper problem is a deviation from parallel. It indicates that the tool path is not perfectly aligned with the axis of rotation of the workpiece. This misalignment can stem from several areas of the machine itself or the machining process. Let's break down the most common culprits.

1. Misalignment of the Tailstock: The Primary Suspect
The most frequent cause of taper in lathe work is a misaligned tailstock. The tailstock is meant to support the end of a long workpiece, keeping it centered on the same axis as the headstock. However, over time or through improper adjustment, it can shift laterally.
Horizontal Misalignment: If the tailstock center is not perfectly in line with the headstock center, it will force the workpiece off-axis. When you feed the tool from the tailstock end towards the headstock, the cut will be deeper on one side, creating a taper. This can be checked using a test bar and a dial indicator.
Wear and Tear: On older machines or those with heavy use, the base of the tailstock or the ways it slides on can wear down, leading to a natural and often unnoticed misalignment.
2. Bed Wear and Leveling Issues: The Foundation of Precision
The lathe bed is the foundation upon which all precision is built. If this foundation is compromised, accuracy is impossible.
Localized Wear: The headstock end of the lathe bed typically sees the most movement from the carriage. Over years of use, this can cause localized wear, creating a slight "dip" in the ways. When the carriage travels through this worn section, the tool height and path change, resulting in a taper.
Improper Leveling: Even a new lathe must be properly leveled. A twisted or unlevel bed will cause the carriage to travel in a slight arc relative to the workpiece axis. This geometric error directly translates into a tapered cut. Proper leveling using a precision spirit level is essential for all lathes, including the compact models perfect for home workshops, like those from Xendoll.
3. Tooling and Setup Errors: The Operator's Role
Sometimes, the machine is perfectly aligned, but the issue lies in the setup or tooling.
Tool Height Incorrectness: If the cutting tool is set significantly above or below the centerline of the workpiece, it changes the effective cutting geometry. This can introduce a slight taper, especially when taking light cuts on small-diameter work.
Workpiece Deflection: The "Spring Cut" Problem: This is a major factor when machining long, slender workpieces. The cutting pressure from the tool can actually push the material away, causing it to "bow." The deflection is greatest at the unsupported center, resulting in a deeper cut at the ends (where it's supported by the chuck and tailstock) and a larger diameter in the middle. The solution often involves using a steady rest or a follower rest to provide intermediate support.
Dull Cutting Tools: A worn or dull tool requires more force to cut, which exacerbates workpiece deflection and can lead to chatter and inconsistent cuts, sometimes manifesting as a taper.
4. Thermal Expansion: The Hidden Variable
While less common on smaller machines for hobbyists, thermal expansion can be a factor in high-precision or high-production environments.
Machine Warm-Up: As a lathe runs, the motor, spindle bearings, and other components generate heat. This can cause the headstock to expand minutely, shifting its alignment relative to the tailstock. For ultra-precise work, it's good practice to let the machine run for 10-15 minutes before starting a critical cut to allow it to reach a stable thermal state.

Conclusion: A Systematic Approach to Perfect Cylinders
The lathe taper problem is not a single-issue challenge but a symptom with multiple potential causes. By systematically investigating these areas—starting with tailstock alignment, checking bed condition and level, reviewing your tooling setup, and considering workpiece support—you can diagnose and eliminate the issue. For mechanical dealers and educational institutions, understanding these principles is key to maintaining equipment and teaching proper technique. For the passionate machining enthusiast, it's the knowledge that transforms frustration into flawless execution.
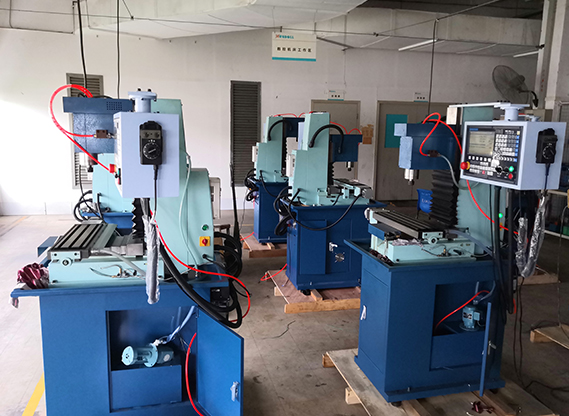
At Xendoll Tools, we engineer our mini lathes and milling machines with precision and rigidity in mind, providing a stable platform for your most ambitious projects. By pairing quality equipment with a deep understanding of fundamental machining principles, you can consistently produce accurate, high-quality work and push the boundaries of your craft.


 Show all our samples
Provide you with a free quote
Answer all the questions you may have
Guided installation and other options
Show all our samples
Provide you with a free quote
Answer all the questions you may have
Guided installation and other options